Understanding the camera features on iPhone is the key to taking amazing photos with your device. This step-by-step guide will help you explore all the possibilities to make the most of your iPhone camera.
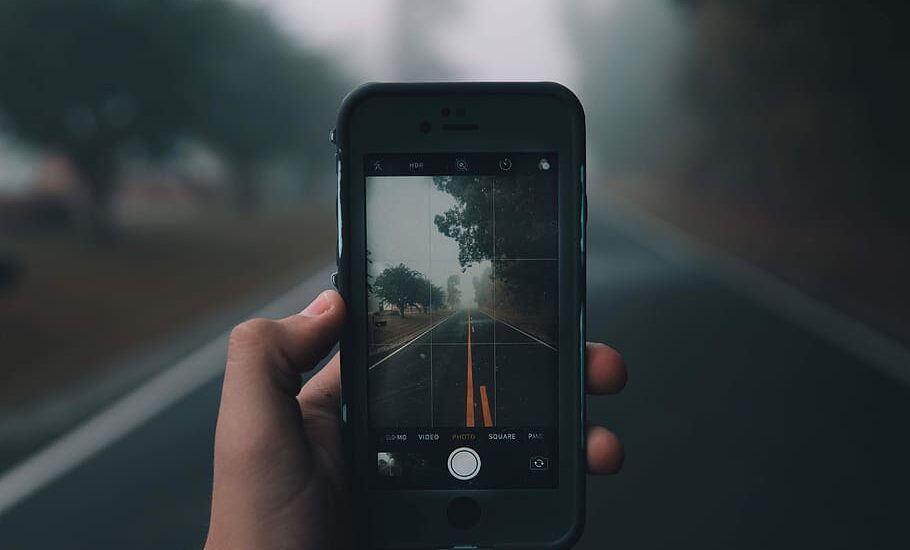
Table of Contents
Step 1: Accessing the Camera
To begin with, you’ll need to access your iPhone’s camera. You can do this in multiple ways:
- Tap on the camera icon on your home screen.
- Swipe left from your lock screen.
- Use the Control Center by swiping down from the top-right corner of your screen and then tapping the camera icon.
Step 2: Understanding Basic Modes
Your iPhone camera features various modes for different types of photography. These modes include:
- Photo
- Video
- Portrait
- Panorama
To switch between modes, simply swipe left or right on the screen.
Read more iPhone camera topics here – iPhone Camera: How To, Problems & Solutions
Step 3: Mastering Focus and Exposure
For a crisp image, understanding focus and exposure is crucial. Here’s how:
- Tap on the area you want to focus on. A yellow box will appear.
- To adjust exposure, drag your finger up or down on the screen.
Step 4: Using Zoom
To get a closer look at your subject, use the zoom feature. Simply pinch outwards on the screen to zoom in, and pinch inwards to zoom out.
Step 5: Additional Camera Features on iPhone
Some other noteworthy features include:
- Live Photos: Capture moving pictures by enabling the Live Photo option.
- Night mode: Enhances low-light photography automatically.
- Filters: Add different color effects to your images.
Camera Features on iPhone: Conclusion
Mastering the camera features on iPhone doesn’t have to be a daunting task. With this comprehensive, step-by-step guide, you now have all the tools at your disposal to elevate your photography skills. From understanding basic modes to mastering focus and exposure, these features are designed to enhance your photo-taking experience. Don’t hesitate to experiment and apply these tips to capture stunning photos that you’ll be proud to share. Happy shooting!
