If you’re looking to elevate your video conferencing or streaming quality, understanding how to use an iPhone camera as a webcam on Windows 10 is a great way to go. This guide will provide you with step-by-step instructions to seamlessly integrate your iPhone’s superior camera with your Windows 10 system, ensuring a significantly improved video call and streaming experience.
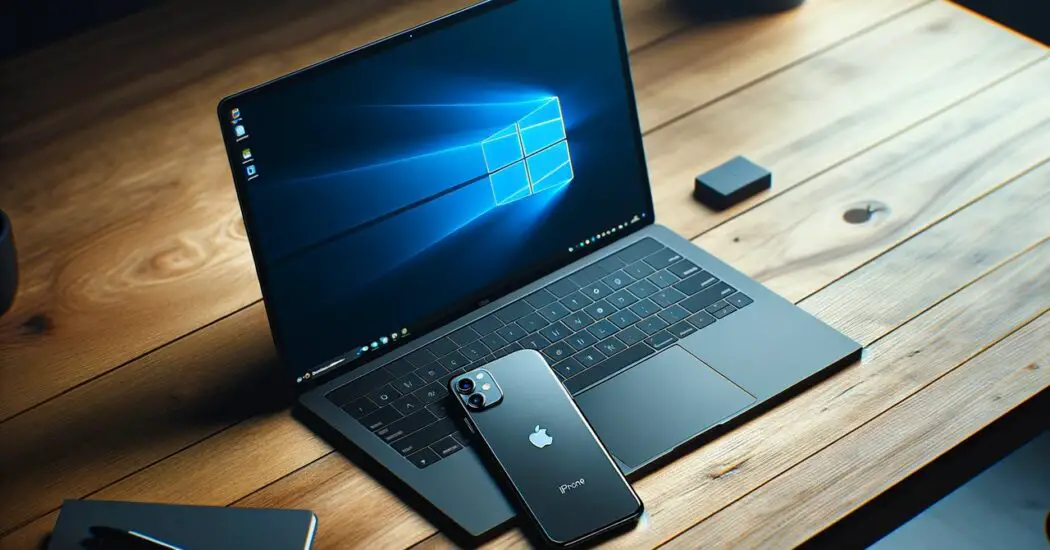
Table of Contents
How to Use an iPhone Camera as a Webcam on Windows 10 – Step by Step
Follow the steps below to use an iPhone camera as a webcam on windows 10…
Step 1: Gather Your Tools
Before you begin, ensure you have your iPhone, a USB cable, and your Windows 10 computer ready.
Step 2: Download and Install Required Software
To transform your iPhone into a webcam for your Windows 10 system, the first thing you need to do is download a suitable webcam application on your iPhone. Applications such as ‘EpocCam’ or ‘iVCam’ are highly recommended for this purpose. Here’s how to proceed:
Choosing the Right App: Open the App Store on your iPhone. Type in the search bar “EpocCam” or “iVCam” – these are popular choices known for their reliability and ease of use. Feel free to read through the user reviews and app descriptions to decide which one suits your needs best.
Downloading the App: Once you’ve made your choice, tap on the ‘Get’ button next to the app to download and install it. You might be prompted to enter your Apple ID password or use Face/Touch ID for verification.
Installing Companion Software on Windows 10: After installing the app on your iPhone, you’ll need to install the corresponding software on your Windows 10 computer. This is necessary for your computer to recognize and use your iPhone as a webcam…
Navigate to the website of the app you’ve chosen (either the EpocCam or iVCam site). Look for the download link for the Windows version of the software. Download the installer file to your computer.
Once downloaded, double-click on the installer file and follow the on-screen instructions to complete the installation. You might need to grant necessary permissions or agree to terms of service during this process.
Step 3: Connect Your iPhone to Your Computer
With the software installed on both your iPhone and Windows 10 computer, it’s time to establish a connection between the two. Here’s how you can do it:
Using a USB Cable: First, locate a suitable USB cable compatible with your iPhone (usually a Lightning to USB cable). Plug the Lightning end of the cable into your iPhone and the USB end into an available USB port on your Windows 10 computer.
Your computer might install some drivers when you connect for the first time; allow it to do so. Once connected, unlock your iPhone. You might see a prompt asking whether you trust this computer – select ‘Trust’ to proceed.
Connecting Wirelessly (If Supported): If your chosen app supports wireless connectivity (both EpocCam and iVCam do), you can opt for this method for a more flexible setup. Ensure both your iPhone and Windows 10 computer are connected to the same Wi-Fi network.
Open the webcam app on your iPhone. It should automatically start searching for your computer. On your computer, open the corresponding webcam software. It should detect your iPhone over the Wi-Fi network.
Read more iPhone camera topics here – iPhone Camera: How To, Problems & Solutions
Step 4: Configure the Webcam App

Once you have successfully connected your iPhone to your Windows 10 computer, either through a USB cable or wirelessly, the next crucial step is configuring the webcam app on your iPhone. This step ensures that your iPhone’s camera properly interfaces with your Windows 10 system. Here’s what you need to do:
Open the Webcam App on Your iPhone: Tap on the webcam app you installed earlier, such as EpocCam or iVCam. Make sure your iPhone is still connected to your computer.
In-App Instructions and Permissions: Upon opening the app, you might be greeted with a welcome screen or a set of instructions. Carefully read through these as they provide valuable information on how to use the app effectively.
The app may request permissions to access your iPhone’s camera and microphone. Make sure to allow these permissions, as they are essential for transmitting video and audio to your computer.
Establishing the Connection: The app will typically automatically search for and connect to your Windows 10 computer. This process may be instant or take a few moments. If the app does not connect automatically, look for a ‘Connect’ button within the app or check for troubleshooting tips provided in the app’s help section.
Adjusting App Settings: Once connected, explore the settings within the app. Here, you can adjust various options like video quality, orientation, and more, depending on the capabilities of the app. Select the settings that best match your needs for video conferencing or streaming.
Step 5: Set Up Your iPhone
With the technical configuration out of the way, it’s time to physically set up your iPhone to ensure it captures the best possible video. Proper positioning of your iPhone is key to achieving a professional and clear video feed. Follow these guidelines:
Choosing the Right Location: Find a location where your iPhone can be placed steadily and at an appropriate height. The camera should ideally be at eye level for a natural, face-to-face look during video calls.
Using a Stand or Tripod for Stability: To maintain a steady shot, use a stand or tripod. There are many iPhone-specific tripods available that offer stability and adjustable height and angles.
If you don’t have a tripod, you can improvise with everyday items. For instance, stack books or use a phone holder to prop up your iPhone. Just ensure it’s secure and won’t easily topple over.
Adjusting the Camera Angle: Once your iPhone is mounted or placed in position, adjust the angle so the camera frames you well. You should be centered in the view, with a little space above your head in the frame. Avoid angles where the camera is pointing up or down at you, as these can be unflattering and distort your appearance.
Checking the Background: Take a moment to look at what’s behind you. A cluttered or distracting background can take away from the professionalism of your video call. Opt for a neutral background or one that is tidy and not too busy.
Lighting Considerations: Good lighting can significantly enhance the quality of your video. Face a light source, such as a window or a lamp, to ensure your face is well-lit and clear. Avoid backlighting where a strong light behind you can overshadow your face, making it appear dark.
Step 6: Adjust Settings on Your Computer
After configuring the app on your iPhone, the next important step is to fine-tune the settings on your Windows 10 computer. This ensures that your computer recognizes and optimally uses your iPhone as a webcam. Follow these steps for a smooth setup:
Open the Webcam Software on Your Computer: Locate the webcam software you installed earlier (corresponding to the app on your iPhone). Click on its icon to open it.
Selecting Your iPhone as the Webcam Source: In the software interface, look for an option to select the video source. Choose your iPhone from the list of available cameras. Your iPhone should appear by the name of the app you installed, like ‘EpocCam’ or ‘iVCam’.
Adjusting Video Settings: After selecting your iPhone as the webcam source, you’ll have access to various settings. Adjust the resolution to suit your needs.
Higher resolutions like 1080p provide clearer, more detailed images but require more processing power and bandwidth. If you experience lag or stuttering, try a lower resolution. Modify the orientation if needed, especially if your video appears sideways or upside down.
Additional Settings: Explore other settings such as brightness, contrast, and color balance. These adjustments can help improve the overall visual quality of your video feed. Some software also offers advanced features like background blur or replacement, which can be useful if you’re in a cluttered or less private space.
By customizing these settings, you can ensure that your iPhone’s camera is optimized for use as a webcam on your Windows 10 computer.
Step 7: Test Your New Webcam
With your iPhone now set up as a webcam on your computer, it’s essential to test it to ensure everything is working correctly. Here’s how to do a thorough test:
Open Your Video Conferencing Software: Launch the video conferencing software you commonly use, such as Zoom, Skype, or Microsoft Teams.
Accessing the Settings: In the software, navigate to the settings or preferences menu. This is usually found in the toolbar or under a menu icon. Look for the video or camera settings section.
Choosing Your iPhone as the Webcam: Within the camera settings, you should see a list of available webcams. Select your iPhone from this list. It will likely be labeled with the name of the webcam app you installed.
Testing the Video Feed: After selecting your iPhone, you should see your video feed appear in the preview window. Check the video quality, making sure the image is clear and stable. Move around a bit to test the motion smoothness and lag, if any.
Audio Considerations: If you plan to use your iPhone’s microphone along with the camera, ensure that it is also selected as the audio input source in the software’s audio settings. Test the microphone by speaking and checking if the audio meters react and if the sound is clear and without delay.
Making Adjustments if Needed: If the video or audio quality isn’t up to your expectations, revisit the settings in both the webcam software on your computer and the app on your iPhone. Experiment with different settings until you achieve the desired quality.
Conducting a Real Test Call: For the ultimate test, consider making a test call to a friend or colleague. Ask for their feedback on video and audio quality. This real-world test can provide insights that you might miss on your own.
Conclusion: How to Use an iPhone Camera as a Webcam on Windows 10
By following these steps, you can effortlessly use your iPhone camera as a webcam on Windows 10, elevating your video quality for calls and streams. This solution not only enhances your video quality but also adds versatility to your tech setup, proving that your iPhone can be more than just a smartphone.