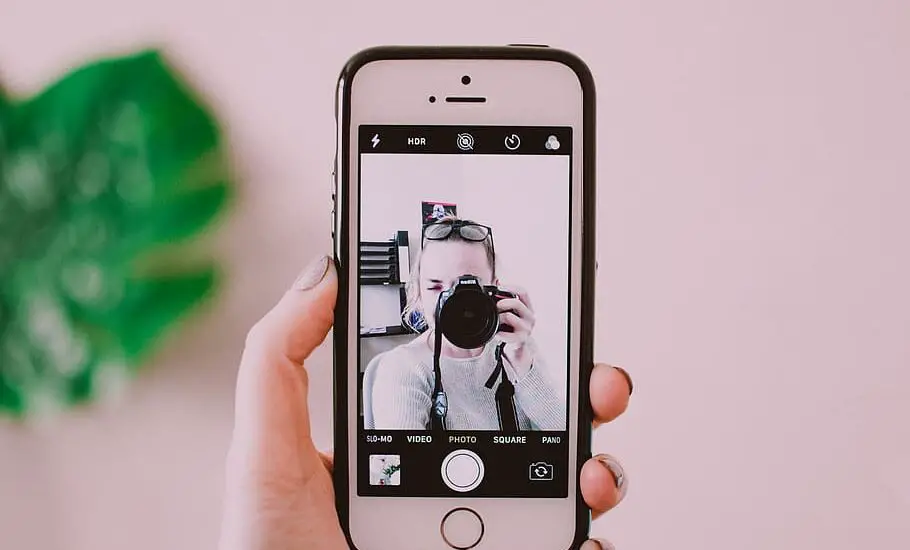
Looking for filters for iPhone camera to enhance your photography? Whether you’re a professional photographer or just love taking photos with your iPhone, our step-by-step guide will help you discover, apply, and master the world of iPhone camera filters.

Table of Contents
Understanding iPhone Camera Filters
Filters on iPhone camera can transform an ordinary picture into a masterpiece. This section will guide you through the types of filters available, how they work, and when to use them.
Types of Filters
- Color Filters: Adjust the color balance to enhance warmth or coolness. Ideal for landscapes and portraits.
- Black and White Filters: Convert your images to monochrome, allowing you to focus on texture and composition.
- Vintage Filters: Give your photos a nostalgic feel with filters that replicate the look of old film cameras.
- Beauty Filters: Smooth out skin tones and highlight features, perfect for selfies.
How to Apply Filters on iPhone Camera
Applying filters for iPhone camera is simple and straightforward. Here’s a detailed guide to help you add filters to your photos.
Step 1: Open the Camera App
Tap on the Camera icon, usually located on your home screen or in the app drawer, to open the app.
Read more iPhone camera articles here – iPhone Camera: How To, Problems & Solutions
Step 2: Choose a Filter
Once the camera is open, tap the filter icon, typically represented by three overlapping circles. Swipe left or right to browse through the available filters on iPhone camera. Tap the filter you like, and you’ll see a live preview of how it looks on your image.
Step 3: Capture the Image
With the desired filter selected, compose your shot and tap the shutter button to capture the image with the filter applied.
Step 4: Edit the Filter
If you want to further customize the filter, you can open the Photos app, tap on the image, and then tap “Edit.” From here, you can adjust the filter’s intensity or combine it with other editing tools.
Troubleshooting Common Issues with Filters on iPhone Camera
If you face any challenges while using the filters, here’s a guide to resolving common problems.
Error: Filter Not Applying
If the filter doesn’t apply, try the following solutions:
- Restart the Camera app by swiping it away in the multitasking view and then reopening it.
- Update the iOS to the latest version by going to Settings > General > Software Update.
- Reset the camera settings by going to Settings > Camera, and then toggling off and on the filters option.
Error: Filter Selection Not Visible
If you can’t see the filter options, it might be due to the camera mode you’re in. Make sure you are in Photo mode, not Video or Portrait, as filters may not be available in all modes.
Conclusion: Filters for iPhone Camera
Embracing the world of filters for iPhone camera opens up endless possibilities for creative expression. Whether you’re looking to add a touch of drama, a splash of color, or a nostalgic vibe, the filters for iPhone camera have something to offer for every photographer.
With the simple and clear steps provided in this guide, you’re now equipped to explore, apply, and master these filters, enhancing your photography journey. Remember, the key to great photography lies in experimentation and practice, so don’t hesitate to explore different filters and find what resonates with your style. Happy shooting!