Learning how to add a photo to an album on iPhone doesn’t have to be complicated. Whether you’re a tech-savvy iPhone user or a beginner, this step-by-step guide will help you organize your memories effortlessly.

Table of Contents
Prerequisites
Before you learn how to add a photo to an album on iPhone, make sure your iPhone is powered on and unlocked. Also, ensure you have the Photos app installed. This is a built-in app, so it should be on your device by default.
How to Add a Photo to an Album on iPhone – Instructions
Open the Photos App
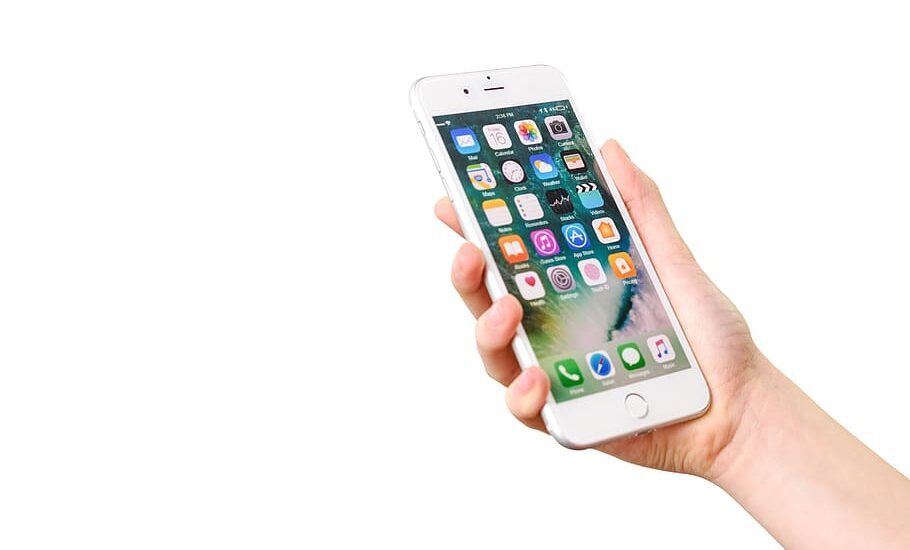
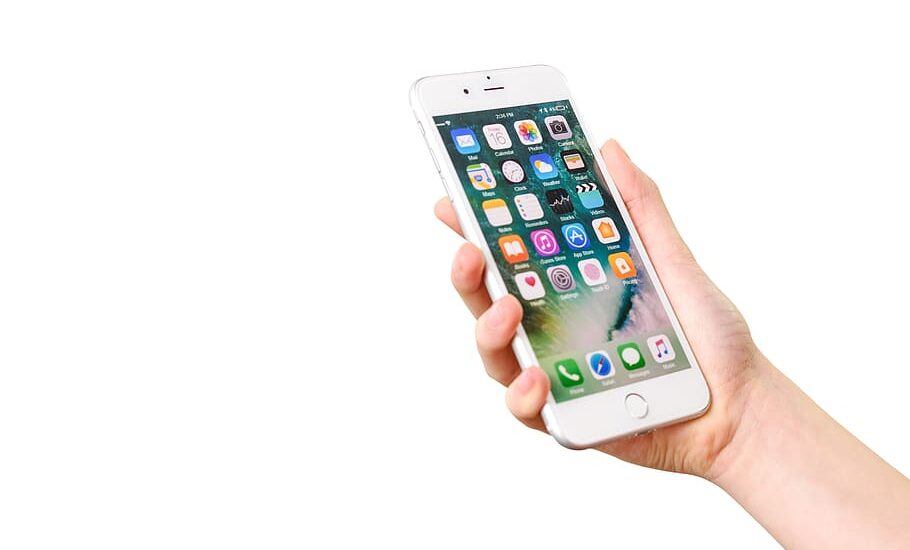
1. Locate the Photos icon on your iPhone’s home screen. It resembles a multi-colored flower.
2. Tap the icon to open the app.
Select the Photo
1. Once the Photos app is open, browse your photos by scrolling up or down.
2. When you find the photo you want to add to an album, tap on it to select it.
Read more iPhone camera topics here – iPhone Camera: How To, Problems & Solutions
Add to Album
1. With the photo selected, look for the “Share” button at the bottom left corner of the screen. It looks like a square with an arrow pointing up.
2. Tap the “Share” button.
3. A menu will appear with multiple options. Scroll until you find the “Add to Album” option and tap it.
Create a New Album (Optional)
If you want to add the photo to a new album:
1. Tap the “New Album” button at the bottom of the screen.
2. Type in a name for your new album.
3. Tap “Save.”
Confirmation
You’ll see a notification confirming that the photo has been added to the selected album. Congratulations, you’ve successfully learned how to add a photo to an album on iPhone.

