If you’ve noticed scratches around your iPhone camera, you’re likely worried about how this could affect your photo quality. Fear not, this article will guide you through the practical steps you can take to resolve this issue.
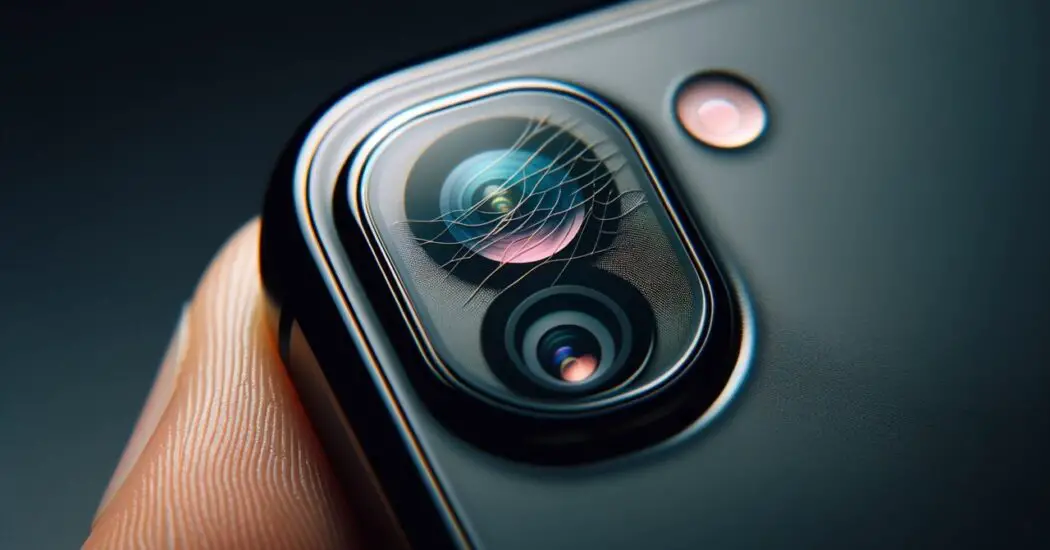
Table of Contents
Scratches Around Your iPhone Camera – Identifying the Issue
Before jumping to conclusions, it’s essential to accurately identify that the issue you’re facing is indeed scratches around your iPhone camera. Misdiagnosing the issue could lead you down the wrong repair path, potentially wasting both time and money.
Clean the Camera Lens
Gather Supplies: Get a microfiber cloth and a lens cleaning solution. If a specialized lens cleaner is not available, a mild soap will suffice.
Turn Off the Phone: For safety, turn off your iPhone before you start cleaning.
Apply Cleaning Solution: Dampen a corner of the microfiber cloth with a small amount of lens cleaner or mild soap.
Gently Wipe: Gently wipe the lens in a circular motion, taking care not to press too hard.
Inspect the Lens: Turn the phone back on and examine the camera lens closely to see if the supposed scratches have been removed.
If after cleaning, you still see imperfections, then you are likely dealing with genuine scratches. Sometimes, what appears to be a scratch is just grime or an oily residue.
Use a Magnifying Glass
If you’re still unsure, consider using a magnifying glass to closely inspect the camera lens. Scratches have a distinct appearance and are usually more than surface-level marks, unlike smudges or dirt.
Test the Camera Functionality
Finally, you can check if the scratches are affecting your photo quality. Take multiple pictures in different lighting conditions. Scratches around the iPhone camera can distort images and create glare or flare, so this can be a useful test to confirm the issue.
Scratches Around Your iPhone Camera – Temporary Fixes
Once you’ve determined that you are indeed dealing with scratches around your iPhone camera, there are some temporary fixes you can implement to alleviate the issue. These are not long-term solutions but can improve your photo quality for the time being.
Use Software Corrections
Adjust Settings: Open your iPhone’s camera app and play around with the settings. Sometimes adjusting the exposure or focus can mitigate the effects of scratches.
Use Editing Apps: Various photo editing apps allow you to remove minor imperfections caused by lens scratches. Software like Adobe Photoshop and Lightroom offer tools to correct these kinds of issues.
Apply a Lens Protector
Buy a Lens Protector: Purchase a camera lens protector that fits your iPhone model.
Clean the Lens: Before applying the protector, ensure the lens is clean.
Apply the Protector: Follow the instructions that come with the lens protector to apply it to your iPhone’s camera lens. A protector can often make scratches less visible and prevent further damage.
Read more iPhone camera topics here – iPhone Camera: How To, Problems & Solutions
Scratches Around Your iPhone Camera – Permanent Solutions
Temporary fixes serve their purpose, but they are not a substitute for a definitive solution. If you’ve confirmed that you have scratches around your iPhone camera that are affecting your photo quality, you should consider these permanent solutions to rectify the problem once and for all.
Consult a Professional Repair Service
Find a Reputable Service: The first step is to locate a reputable iPhone repair service. Check online reviews or seek recommendations from friends or family.
Get a Quote: Once you’ve identified a service you can trust, reach out to get a cost estimate for fixing the scratches around your iPhone camera.
Review Credentials: Make sure that the service is certified in iPhone repair. This ensures that they have the necessary expertise to carry out the repair.
Proceed with the Repair: If you’re comfortable with the quote and credentials, go ahead and get your camera lens replaced.
Lens Replacement
If you’re technically proficient and comfortable with the idea of opening up your iPhone, a lens replacement might be the most direct and cost-effective way to permanently remove those irritating scratches around your iPhone camera. Here’s how to go about it:
Purchase a Replacement Lens
Research Compatibility: Before making a purchase, ensure that the replacement lens you’re considering is compatible with your specific iPhone model.
Check Quality and Reviews: It’s crucial to buy a high-quality lens, as a poor-quality one can affect your camera’s performance. Check reviews and ratings to make an informed decision.
Place the Order: Once you’ve found a suitable lens, proceed to purchase it from a reputable vendor. Ensure that the product comes with a warranty or return policy.
Collect Tools
Identify Needed Tools: You’ll generally need specialized screwdrivers like a Pentalobe and a Philips head, among other tools like spudgers and tweezers.
Purchase or Borrow Tools: If you don’t already have these tools, they can often be purchased as a kit from electronics stores or online.
Prepare Your Workspace: Create a clean, well-lit workspace where you can keep your tools and replacement lens within easy reach. A magnetic mat can be useful for keeping track of screws.
Follow a Tutorial
Find a Reliable Tutorial: Search for a comprehensive step-by-step guide or video tutorial from a reputable source. Websites like iFixit often provide detailed guides for such repairs.
Review the Tutorial: Before beginning the lens replacement, read through or watch the entire tutorial to get a sense of what the process will entail.
Keep the Tutorial Accessible: Have the tutorial open on another device for easy reference during the actual replacement process.
Install the Lens
Open the iPhone: Following the tutorial, use the appropriate screwdrivers to open up the iPhone’s casing.
Remove the Old Lens: Carefully remove the scratched lens, keeping track of any screws or components that you’ll need to reinstall.
Place the New Lens: Insert the new lens into the empty slot, double-checking to ensure that it sits perfectly and that all necessary connections are secure.
Close the iPhone: Once the new lens is in place, reassemble your iPhone by reversing the steps used to open it.
Test the Camera
Power Up: Turn on your iPhone and open the camera app.
Run Basic Tests: Initially, take a few quick photos to see if you notice an immediate improvement in photo quality.
Test Different Conditions: Capture photos or videos in various lighting conditions and with different settings to thoroughly evaluate the new lens’s performance.
Review the Results: Carefully examine the photos for clarity, color, and any distortions to confirm that the lens replacement has resolved the issue.
Prevention Tips
Taking care of the problem is half the battle. You’ll also want to ensure that those pesky scratches don’t reappear around your iPhone camera lens. Here are some preventative measures to keep your camera scratch-free in the future.
Use a Protective Case with a Raised Lip
Select a Case: Choose a protective case that has a raised lip around the camera lens. This ensures that the lens doesn’t come into contact with surfaces when you lay your phone down.
Install the Case: Simply snap your iPhone into the protective case, making sure it fits securely.
Invest in a Quality Screen and Lens Protector
Buy a Protector: In addition to a case, consider purchasing a high-quality lens protector made specifically for your iPhone model.
Clean the Lens: Make sure to clean the lens thoroughly before applying the protector.
Apply the Protector: Follow the manufacturer’s instructions to securely apply the lens protector.
Avoid Keeping Keys and Phone Together
It’s a good practice not to keep your iPhone in the same pocket as your keys or other sharp objects that can cause scratches.
Clean Regularly
Dust and debris can contribute to scratches over time. Make it a habit to clean your phone’s camera lens gently with a microfiber cloth.
Conclusion: Scratches Around Your iPhone Camera
Dealing with scratches around your iPhone camera can be frustrating, but with the right approach, it’s a solvable problem. Remember, prevention is better than cure, so take appropriate measures to protect your device.
