Understanding how to get grid lines on iPhone camera can significantly improve your photography skills. Whether you’re a seasoned photographer or just starting, enabling grid lines on your iPhone camera can help you align your shots perfectly. This step-by-step guide is here to assist you in mastering this essential feature.
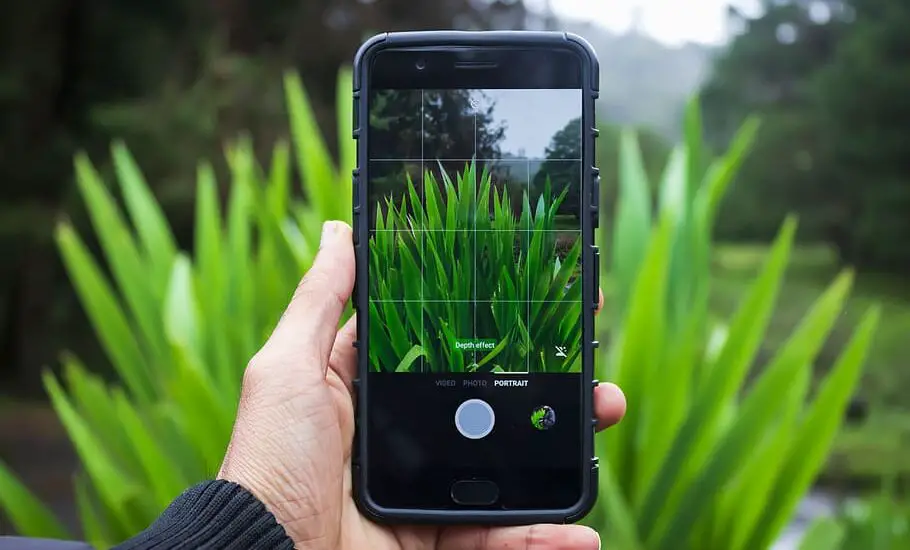
Table of Contents
Step 1: Open the Settings App
Navigate to your iPhone’s home screen and tap on the ‘Settings’ icon. This is where you’ll find all of your device’s configuration options, including those related to the camera.
Step 2: Select the Camera Option
Scroll down the menu and tap on the ‘Camera’ option. This will lead you to the camera’s settings where you can control various aspects of your iPhone’s camera functionality.
Read more iPhone camera topics here – iPhone Camera: How To, Problems & Solutions
Step 3: Enable the Grid Lines
Find the ‘Grid’ toggle within the camera settings. By default, it is likely turned off. Simply tap the toggle, and it will turn green, indicating that the grid lines are now activated on your iPhone camera.
Step 4: Verify the Grid Lines
Open your iPhone camera and look for the grid lines on the screen. You should see them overlaying the camera view. These lines will assist you in composing your shots.
How to Get Grid Lines on iPhone Camera: Conclusion
Learning how to get grid lines on iPhone camera is a simple yet effective way to enhance your photography. Follow these steps, and you’ll have the grid lines activated in no time. Happy shooting!
