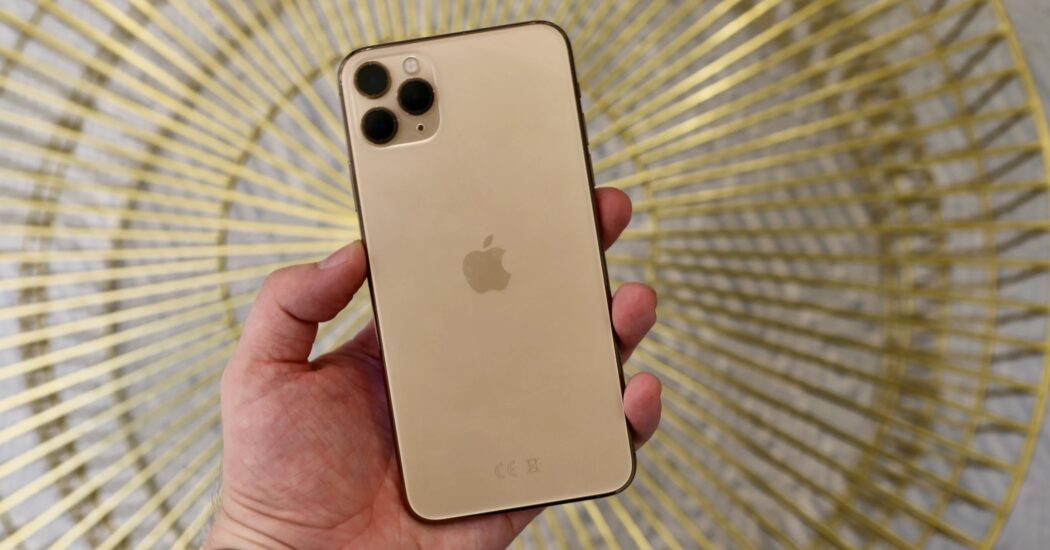
If you’re wondering how to get rid of grid on iPhone 11 camera, you’re not alone. This guide provides a comprehensive, step-by-step walkthrough to solve this common issue. Whether you’re an iPhone veteran or a first-time user, these steps will help you achieve a cleaner camera interface.

Table of Contents
Step 1: Unlock Your iPhone
First, make sure your iPhone 11 is unlocked. You can do this by either entering your passcode or using Face ID, depending on your security settings.
Step 2: Open the Settings App
Locate the Settings app on your home screen. The icon looks like a gray gear. Tap on it to open the application.
Read more iPhone camera topics here – iPhone Camera: How To, Problems & Solutions
Step 3: Scroll Down to ‘Camera’
Once in Settings, scroll down the list of options until you find the section labeled ‘Camera.’ Tap on it to access the camera settings.
Step 4: Locate the ‘Grid’ Option
Inside the Camera settings, you will find a list of features and settings. Look for the option that says ‘Grid’ and tap on it.
Step 5: Toggle Off the ‘Grid’ Setting
The ‘Grid’ option will have a toggle switch next to it. If the toggle is green, that means the grid is currently enabled. Tap the toggle switch to turn it off. The toggle should now appear gray, indicating that the grid has been disabled.
Step 6: Confirm and Test
Exit out of Settings and open your Camera app to confirm that the grid has been successfully removed. You should now see a cleaner camera interface, free from any grid lines.
How to Get Rid of Grid on iPhone 11 Camera: Conclusion
Now you know how to get rid of grid on iPhone 11 camera. These easy-to-follow steps provide a straightforward solution to a common problem. Enjoy capturing moments without the distraction of grid lines!
