If you want to learn how to use your iPhone camera as webcam for PC via USB, you’re in the right place. This comprehensive guide will walk you through every step necessary to connect your iPhone camera to your PC via USB, ensuring a seamless transition and professional video quality for your next online meeting.
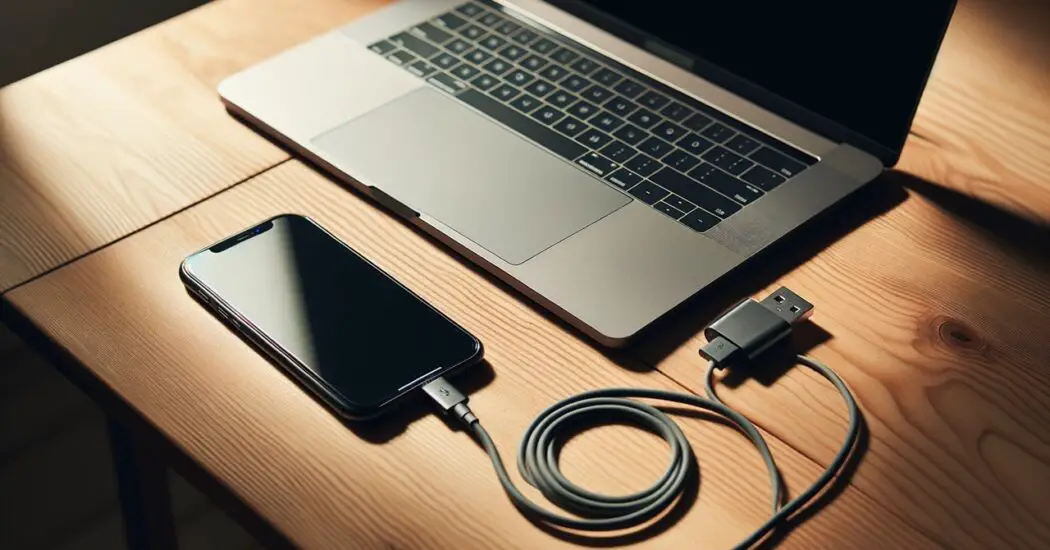
Table of Contents
How to Use Your iPhone Camera as Webcam for PC via USB
Follow the steps below to use your iPhone camera as webcam for PC via USB..
Step 1: Gathering the Necessary Tools
To use your iPhone camera as a webcam for your PC via USB, you’ll need to have a few items ready. Here’s what you need:
An iPhone with a Working Camera: This might seem obvious, but ensure your iPhone’s camera is functioning correctly. You can quickly test this by opening the Camera app and checking if both the front and rear cameras are operational.
A PC with a USB Port: Any modern PC should have this. If you’re using a desktop, you may find USB ports at the front or back of the machine. For laptops, USB ports are typically located on the sides. You’ll need an available port to connect your iPhone.
A Lightning to USB Cable: This is the same cable you use to charge your iPhone or sync it with your computer. It’s crucial that the cable is in good condition to ensure a stable connection. If you’re using a newer iPhone model that comes with a USB-C to lightning cable, ensure your PC has a compatible USB-C port or use an adapter.
Webcam Software: You will need software that can convert your iPhone’s video output into a webcam input for your PC. EpocCam and iVCam are two respected options that are known for their reliability and ease of use. The software will have two components – one for your iPhone and one for your PC.
Step 2: Installing Webcam Software on Your iPhone
The right software is crucial for a smooth experience, so follow these steps to get the webcam software installed on your iPhone:
Locate the App Store: On your iPhone, find and tap the App Store icon. This is where you can download and install new apps.
Search for Webcam Software: Tap the search icon at the bottom of the screen and enter the name of the webcam software you have chosen (such as EpocCam or iVCam). These apps have good reputations for converting an iPhone into a webcam.
Download and Install: Once you’ve found the app, tap “Get” or the download button (this may look like a cloud with an arrow), and the app will begin to download and install on your iPhone. You may be asked to enter your Apple ID password or confirm with Touch ID or Face ID.
Confirm Availability for Windows: Before moving on, it’s essential to ensure that the app you’re downloading on your iPhone also supports Windows. Check the app description or the developer’s website for this information. This compatibility is necessary for the app to work seamlessly between your iPhone and PC.
Wait for Installation to Complete: The app should install automatically after downloading. Ensure the process is complete before proceeding to the next step.
Step 3: Installing Webcam Software on Your PC
Now that you have prepared your iPhone, it’s time to set up the corresponding software on your PC to enable the connection.
Visit the Official Software Website: Open your preferred web browser on your PC and go to the official website of the webcam software you installed on your iPhone, such as EpocCam or iVCam. This ensures you’re getting the legitimate software that’s designed to work with the app on your iPhone.
Download the Windows Drivers: Look for the download section on the website, which should offer the Windows drivers for the software. These drivers allow your PC to recognize your iPhone as a webcam. Click on the download link for the Windows version that matches your PC’s operating system. Make sure to select the correct one (32-bit or 64-bit) according to your system specifications.
Run the Installation File: After the drivers are downloaded, navigate to the download location (usually the ‘Downloads’ folder unless you chose a specific location). Double-click on the installation file to begin the setup process. You may receive a security prompt asking for permission to run the installer; click “Yes” to proceed.
Follow On-Screen Instructions: The installation wizard will guide you through the process. This typically includes accepting the license agreement, choosing the installation directory, and confirming whether you want to create desktop shortcuts. Proceed with the recommended settings unless you have a specific preference.
Complete the Installation: Once the installation is complete, you might be prompted to restart your computer. Save any open work and reboot your PC to ensure that the changes take effect and that the drivers are properly installed.
Read more iPhone camera topics here – iPhone Camera: How To, Problems & Solutions
Step 4: Connecting Your iPhone to Your PC
With the software now installed on both your iPhone and PC, it’s time to establish the physical connection between the two devices.
Connect with the Lightning to USB Cable: Take your lightning to USB cable and plug the USB end into an available USB port on your PC. Then connect the other end (the lightning connector) to your iPhone.
Trust the Connection: Upon connecting, your iPhone may display a prompt asking whether you trust the connected computer. Tap “Trust” to ensure a secure connection and allow data transfer between the devices. If you don’t see the trust prompt, try unlocking your iPhone and connecting the cable again.
Unlock Your iPhone: Ensure your iPhone is unlocked during this process. If it’s locked, your PC may not recognize it as a webcam. Simply enter your passcode or use Face ID or Touch ID to unlock it.
Step 5: Configuring the Webcam Software
With your devices now connected, it’s time to configure the software to communicate properly.
Open the Webcam App on Your iPhone: Unlock your iPhone if it’s not already, and open the webcam app that you previously installed from the App Store.
Launch the Webcam Client on Your PC: On your PC, find and open the webcam software client you installed from the official website. You might find it on your desktop, in your Start menu, or where you chose to place it during installation.
Establish the Connection: The PC client will typically automatically search for your iPhone. Make sure your iPhone is connected, unlocked, and that the app is running. The PC client should display your iPhone as one of the available camera sources.
Select Your iPhone Camera: In the webcam client on your PC, you should see your iPhone listed as a camera option. Select it to establish it as your webcam source. If it doesn’t appear, check the connections, ensure both applications are running, and try restarting the software on both your PC and iPhone.
Adjust the Settings: Most webcam applications will allow you to adjust settings such as resolution, orientation, and frame rate. Tinker with these settings to optimize video quality and performance based on your needs.
Step 6: Adjusting the Settings
With the connection between your iPhone and PC now established, the fine-tuning begins. This step is essential to ensure you get the best video quality and performance out of your new webcam setup.
Access the Settings on Both Platforms: Start with the iPhone app. Open the webcam software and look for a ‘Settings’ or ‘Preferences’ option. Do the same on the PC client. This is where you can customize the software’s functionality to suit your needs.
Adjust the Video Resolution: One of the primary settings you can adjust is the resolution. The higher the resolution, the sharper the image, but this can also increase the demand on your network and computer resources.
Choose a resolution that strikes a balance between clarity and performance, considering the capabilities of your devices and your internet speed if you’re streaming or video calling.
Set the Video Quality: Video quality settings may include adjusting the compression level or choosing between different quality presets. Lower compression can lead to a higher quality image, but it also requires more bandwidth and processing power.
Other Preferences: Look into other available options such as adjusting the exposure, focus mode (auto or manual), and whether to use the front or back camera. You might also find settings for image orientation, zoom level, and even some advanced features like green screen effects or background blur.
Test the Adjustments: After adjusting the settings, it’s wise to test the video feed to see how the changes have affected the output. You can usually preview the feed directly in the webcam software.
Step 7: Using Your iPhone as a Webcam
With your settings dialed in, it’s time to put your setup to the test in a live environment.
Open Video Conferencing Software: Navigate to the video software you plan to use on your PC, such as Skype, Zoom, or Microsoft Teams.
Go to the Video Settings: Within the software, find the settings or preferences menu, and locate the video or camera options. This is usually in the ‘Tools’, ‘Options’, or ‘Settings’ menu under ‘Video Settings’ or similar.
Select Your iPhone as the Video Source: You should see a list of available cameras. Select the one that corresponds to your iPhone—it may be listed by the webcam app’s name. Once selected, you should see the video feed from your iPhone’s camera.
Position Your iPhone: Place your iPhone on a stable surface or a tripod so it’s aimed at you. Adjust the angle so that you’re centered in the frame, and make sure the area is well-lit.
Begin Your Video Session: With the video source selected and your iPhone positioned correctly, start a video call or recording session. You should now be using your iPhone’s camera as a high-quality webcam.
Troubleshooting Common Issues: How to Use Your iPhone Camera as Webcam for PC via USB
If you run into problems, here are some steps to troubleshoot:
Update the Apps: Check the App Store on your iPhone and the webcam software’s website on your PC for any available updates. Outdated software can lead to compatibility issues.
Inspect the USB Connection: Make sure the USB cable is securely plugged into both your iPhone and your PC. If your PC does not recognize your iPhone, try a different USB port or a different cable.
Restart Devices: If the connection seems unresponsive, a simple restart of both your iPhone and PC can often resolve connection issues.
Camera Permissions: Go to your iPhone’s settings, scroll down to the webcam app, and ensure that it has permission to access the camera. Without these permissions, the app cannot transmit video data.
Conclusion: How to Use Your iPhone Camera as Webcam for PC via USB
Remember, setting up your iPhone camera as a webcam for your PC via USB is a straightforward process that can significantly upgrade your video call quality. With this guide, you should be well on your way to enjoying professional-grade video on your PC, all by using the powerful camera of your iPhone.
