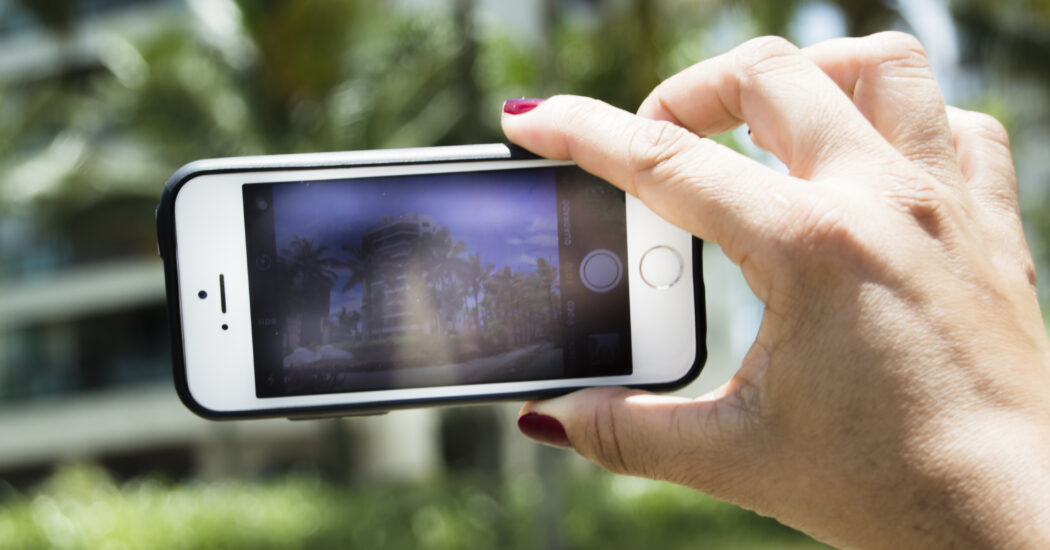
When it comes to taking professional-quality pictures with your iPhone, utilizing the iPhone camera grid option can make all the difference. This powerful tool helps in aligning the subjects and horizon, adhering to the Rule of Thirds, and enhancing the overall composition. In this guide, you will learn exactly how to enable and make the most of this invaluable feature.

Table of Contents
Enabling the iPhone Camera Grid Option
1. Open the Settings app on your iPhone.
2. Scroll down and tap on Camera.
3. Toggle the switch next to Grid to enable it.
Using the Grid Option
Once the grid is enabled, you will notice faint lines dividing your camera screen into nine equal parts. Here’s how you can use it:
1. Align your subjects along the grid lines or at their intersections.
2. Keep the horizon aligned with one of the horizontal lines for balanced composition.
Read more iPhone camera topics here – iPhone Camera: How To, Problems & Solutions
Customizing the Grid Option
Unfortunately, the iPhone camera grid option does not offer customization. However, third-party camera apps might provide additional grid patterns and adjustments.
Troubleshooting Common Issues
If you face any challenges with the grid option, ensure that your iOS is updated, and follow the enabling steps again.
Conclusion
Mastering the iPhone camera grid option is an essential step towards improving your photography skills. Whether you’re a novice photographer or an experienced shutterbug, using the grid can help you frame your shots more effectively and create visually pleasing compositions.
By following the steps in this guide, you’ve learned how to enable and make the most of this feature on your iPhone. Now, with the grid option at your fingertips, you have a powerful tool that can assist you in capturing stunning photos that resonate with professionalism and creativity.
