If you’re looking to master the iPhone camera settings for best pictures, you’ve come to the right place. With so many features and options available, it can be overwhelming. But with this step-by-step guide, we’ll walk you through the essential settings to capture those perfect moments.
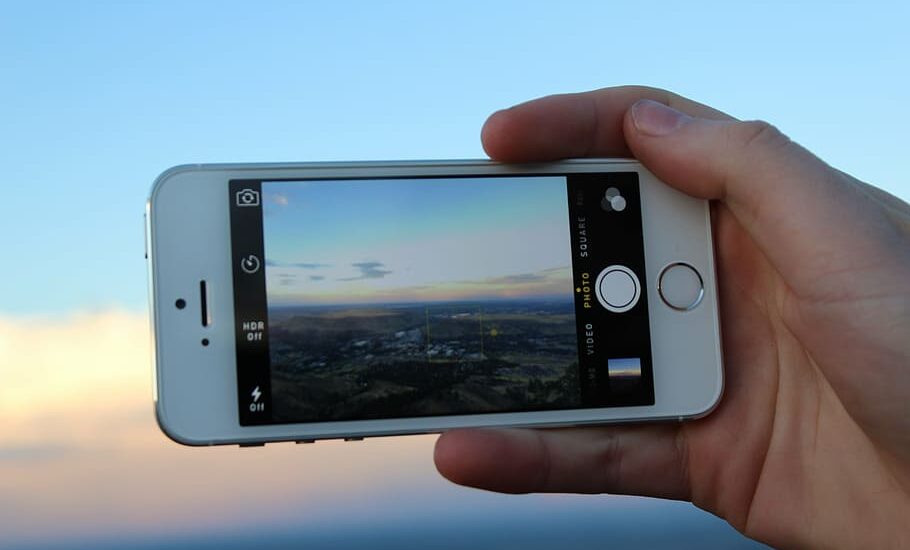
Table of Contents
Understanding the Basics: Key Settings and Their Functions
Before you start snapping photos, it’s crucial to understand the fundamental settings on your iPhone’s camera. By tweaking these options, you can dramatically improve the quality of your images.
1. Adjusting Exposure
Exposure determines how light or dark your photo appears. On your iPhone, tap the screen where you want to set the exposure. A yellow box with a sun icon will appear. Drag the sun icon up to brighten the image or down to darken it.
2. Enabling HDR (High Dynamic Range)
For scenes with a mix of shadows and bright areas, turning on HDR can help. This setting captures multiple exposures and merges them for a balanced photo. To enable, go to the top menu and tap the “HDR” option. Choose “On” or “Auto”.
3. Using Grid Lines for Composition
Grid lines assist in aligning your shot, adhering to the rule of thirds. To activate this feature, go to Settings > Camera > Grid and turn it on.
Read more iPhone camera topics here – iPhone Camera: How To, Problems & Solutions
Focusing on Advanced Features
Once you’ve grasped the basics, it’s time to explore some advanced settings to further enhance your photos.
1. Live Photos
Live Photos capture a 3-second video around your still image. To activate, tap the concentric circle icon at the top of the screen. Remember, while it’s a fun feature, it does take up more storage space.
2. Portrait Mode
For photos with a blurred background and a sharp foreground, use Portrait Mode. Swipe to this mode in the camera app, and ensure your subject is between two to eight feet away for best results.
3. Self-Timer
When you need to delay the shot, perhaps for a group photo, use the self-timer. Tap the timer icon at the top and select either 3 or 10 seconds.
Editing After the Shot
Even after you’ve captured your image, you can make adjustments to ensure it looks its best.
1. Cropping and Straightening
Open the photo in the Photos app, tap “Edit” in the top right, and then the crop icon. Here, you can adjust the size and orientation of your image.
2. Filters and Light Adjustments
Within the Edit mode, experiment with the available filters to alter the mood of your photo. You can also manually adjust brightness, contrast, and more using the light icon.
iPhone Camera Settings for Best Pictures: Conclusion
Perfecting your iPhone camera settings for best pictures doesn’t have to be a daunting task. With a bit of practice and by utilizing this guide, you’ll be capturing stunning photos in no time.
