If you’re dealing with an iPhone camera yellow light issue, you’re in the right place. This common problem can be frustrating, but rest assured, there are systematic approaches to resolve it. Follow this guide to learn how.
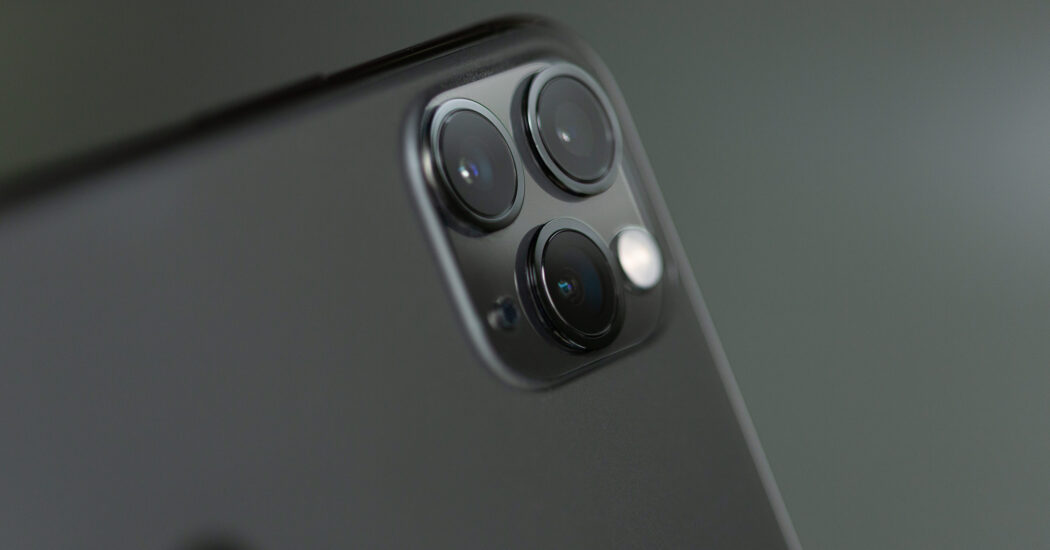
Table of Contents
Understanding the iPhone Camera Yellow Light Issue
The iPhone camera yellow light issue often appears when you’re trying to take photos in low-light conditions. It may cause your pictures to look unnaturally warm or just plain odd. Before you consider any drastic measures like replacing your phone, let’s go through the steps to resolve this.
Step 1: Update Your iPhone
The first thing you should consider when facing the iPhone camera yellow light issue is to check if your iPhone’s operating system is up-to-date. Outdated software is a notorious culprit for causing all sorts of technical hitches.
To check for updates, you’ll need to navigate to your iPhone’s settings. Here’s how:
- Open the “Settings” app, which is represented by a gear icon on your home screen.
- Scroll down and tap on “General.”
- In the “General” menu, you’ll find an option that says “Software Update.” Tap on it.
Your iPhone will now search for any available updates. If one is found, an “Install Now” button will appear.
- Tap “Install Now” to update your software.
- Your phone will restart, and the installation will begin.
After your phone reboots, test your camera to see if the yellow light issue has been resolved. If not, proceed to the next step.
Step 2: Reset Camera Settings
Sometimes, a simple reset of your camera settings can fix the problem. To do this, you’ll need to access your camera settings within the Camera app.
- Open the Camera app from your home screen.
- Look for the settings icon, usually represented by a gear.
- Scroll down until you find an option that says “Reset Settings.”
Tap “Reset Settings,” and a confirmation pop-up will appear.
- Confirm that you want to reset your settings.
- The app will return to its default settings.
Now, take a few test shots to see if the yellow hue has disappeared. If it hasn’t, move on to the next step.
Read more iPhone camera topics here – iPhone Camera: How To, Problems & Solutions
Step 3: Clean the Camera Lens
A dirty lens could be the reason why your photos are appearing with a yellowish tint.
- Take a microfiber cloth and gently wipe the lens in a circular motion.
- Make sure to clean around the edges where dust and smudges are more likely to hide.
Avoid using paper towels, tissue papers, or any cleaning materials that contain chemicals as they could potentially scratch or damage the lens.
Step 4: Disable True Tone
True Tone is a feature that adjusts the white balance of your display based on the ambient lighting conditions, which can sometimes affect the camera’s color balance.
- Go back to your iPhone’s “Settings.”
- Scroll and tap on “Display & Brightness.”
- You’ll see an option for “True Tone.”
Toggle the True Tone switch off and return to your camera. Take some test pictures to check if the yellow light problem has been corrected.
Step 5: Seek Professional Help
If you’ve tried all the above steps and you’re still facing the iPhone camera yellow light issue, it may be time for professional assistance.
- Go to the Apple Support website or app and book an appointment.
- Alternatively, you can visit an Apple Store if one is near you.
Apple’s team of technicians are trained to diagnose and fix issues like this, so you’ll be in good hands.
Conclusion: iPhone Camera Yellow Light
The iPhone camera yellow light issue can be bothersome, but it’s typically easy to solve. By following these step-by-step instructions, you’ll be back to capturing great photos in no time.