If you’re wondering, “Is iPhone camera wide angle?” you’ve come to the right place. This article will provide you with a detailed, step-by-step guide to understanding and utilizing your iPhone’s wide-angle camera features.
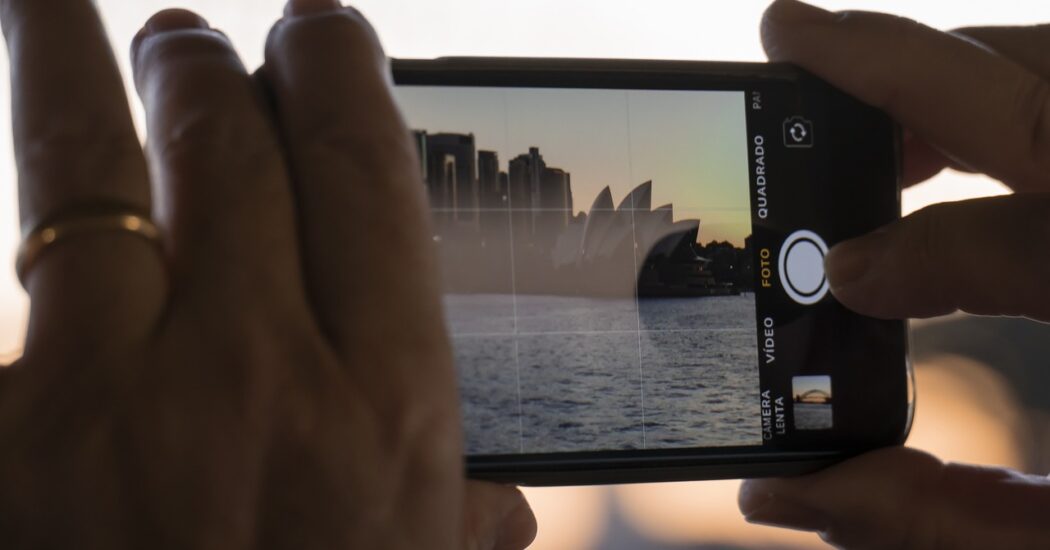
Table of Contents
What is a Wide-Angle Camera?
When you use a wide-angle camera, you’re essentially using a lens with a significantly shorter focal length compared to a standard lens. This allows you to capture a broader field of view. Imagine trying to capture an entire sunset, a large group of people, or a full view of a room.
With a standard lens, you might find it challenging to fit everything into the frame. A wide-angle lens solves this problem by allowing more of the environment to be included in the photograph.
Which iPhones Have Wide-Angle Cameras?
If you are wondering whether your iPhone supports wide-angle photography, know that this feature is available in iPhone models from iPhone 11 onwards. These later models come equipped with multiple lenses, and one of these is dedicated to wide-angle photography.
To verify this feature, you can either look at the technical specifications of your iPhone model on Apple’s official website or simply check the back of your iPhone. If you see more than one lens, your device most likely supports wide-angle shots.
Read more iPhone camera topics here – iPhone Camera: How To, Problems & Solutions
How to Use the Wide-Angle Feature
Unlocking the potential of your iPhone’s wide-angle camera isn’t complicated, but it does require some specific actions. Below are the detailed steps to help you make the most out of this feature:
Step 1: Open the Camera App
Tap on the camera icon to open the app. If for some reason you’ve moved the app and can’t find it, you can also swipe down on your home screen and use the search bar to type in “Camera” to locate the app.
Step 2: Identify the Lens Option
Once the Camera app is up and running, your next step is to identify which lens your camera is currently set to. Look at your screen and you will usually find an icon that says “1x” located at the bottom center. This “1x” is indicating that you are currently using the standard or primary lens on your iPhone. It serves as the default lens when you open the app.
Step 3: Switch to Wide-Angle Mode
To move from the standard lens to the wide-angle lens, tap on the “1x” icon. Upon tapping, a few other lens options will appear around it, including “0.5,” which stands for the wide-angle lens. Tap on “0.5” to activate the wide-angle mode. The scene in your camera viewfinder should noticeably expand, capturing a broader field of view than before.
Step 4: Compose and Capture
With the wide-angle mode now activated, take a moment to compose your shot. You may notice that you can fit more elements into the frame—whether it’s more people, more of a landscape, or even more of a room’s interior.
Once you’re satisfied with how your photo’s composition looks, go ahead and tap the shutter button. This is the large circular button generally located at the bottom center of the screen.
Troubleshooting Wide-Angle Issues
If you find that you’re experiencing some issues with the wide-angle feature, don’t worry, as most problems have straightforward solutions. For instance, if the feature is not available, double-check that you are using an iPhone that supports wide-angle photography.
In case you find that your photos are coming out blurry, it could be a simple matter of cleaning the wide-angle lens at the back of your phone using a microfiber cloth. Lastly, if your photos display inconsistent colors or poor quality, make sure your iOS is updated to the latest version to get the optimal camera performance.
Is iPhone Camera Wide Angle?: Conclusion
Understanding whether your iPhone has a wide-angle camera and how to use it can enhance your photography skills and allow you to capture stunning images.
Whether you’re shooting expansive landscapes or trying to fit a large group into a single frame, the wide-angle feature can be a game-changer. If you encounter any issues, the troubleshooting steps outlined here should help you resolve them quickly and effectively.