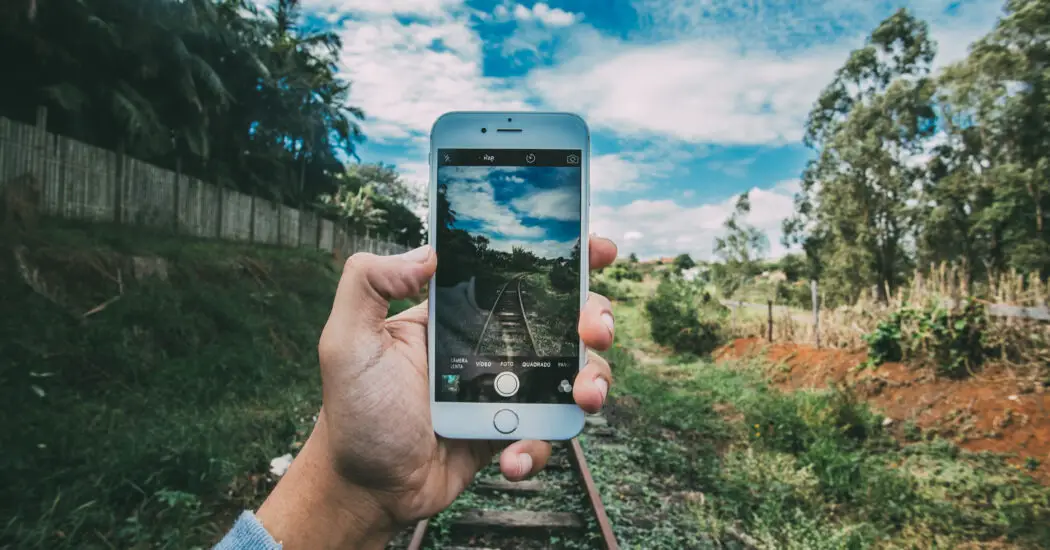
If you want to unlock the full potential of your iPhone camera in manual mode, you’ve come to the right place. This article will walk you through the entire process step-by-step, ensuring you get the most out of your device’s photographic capabilities.

Table of Contents
Understanding the Importance of Manual Mode
When you take a photo using the default settings on your iPhone camera, the device makes several decisions for you. It adjusts factors like how much light to let in, where to focus, and how sensitive the camera sensor should be to that light. These automatic adjustments are certainly convenient, but they offer you limited artistic input.
Manual mode changes this dynamic by placing creative control back into your hands. It allows you to fine-tune elements such as exposure, focus, and ISO. Exposure refers to the amount of light that hits the camera sensor, focus is the sharpness of the image, and ISO controls the sensitivity of the sensor to light.
By manually adjusting these factors, you can create photographs that align more closely with your vision, rather than relying solely on the phone’s algorithms.
iPhone Camera in Manual Mode
The native camera app on iPhones does not provide a comprehensive manual mode, but this functionality can be enabled through third-party apps. Apps like ProCam, Halide, or Manual are available on the App Store and are designed to unlock manual capabilities for iPhone cameras. After downloading your preferred app, launch it and look for an option that indicates you’re in manual mode.
The icon that signifies this usually resembles an “M.” Sometimes you may have to navigate through the app’s settings or swipe through various modes to locate it. Once you find this option, tap on the “M” icon to switch the camera to manual mode. You’ll notice new sliders and controls appear on your screen, granting you manual control over your camera settings.
Adjusting Exposure
The first setting you’ll want to acquaint yourself with in manual mode is exposure. Exposure affects how light or dark your image appears, and it’s crucial for capturing shots in varying lighting conditions. Within your third-party camera app, look for the exposure adjustment slider. This is typically labeled “EV” for Exposure Value, or sometimes it’s represented by a sun icon.
The slider will be set to a default value—usually zero—which represents the camera’s automatic exposure setting. To decrease the amount of light entering the camera, slide the exposure control to the left. This will result in a darker image, which can be useful for overly bright scenes or creating moodier photos.
Conversely, slide the control to the right to increase the exposure and make the image brighter. This is particularly beneficial in low-light conditions where you want to bring out more details in the shadows.
Read more iPhone camera topics here – iPhone Camera: How To, Problems & Solutions
Controlling Focus
In photography, focus is about more than just clarity; it’s also about directing the viewer’s attention to specific parts of the image. Automatic focus usually zeroes in on the closest object or uses facial recognition, but these features may not always align with your artistic vision. In manual mode, you have the freedom to change the focal point.
When you’ve entered manual mode through your chosen third-party app, look for the focus control. This is often symbolized by a flower icon, which represents macro focus, or a target icon, indicating general focus adjustment. Once located, tap on it. You’ll see a focus slider appear, usually with numbers that represent the focus distance in meters or feet.
Slide the focus control while watching the camera view on your phone’s screen. You’ll notice areas of the image becoming sharper or blurrier as you move the slider. Take your time to adjust the focus until the specific area or subject you want to emphasize becomes sharp. Some apps even color-highlight the in-focus areas on your screen as a visual guide.
Setting ISO
ISO is a vital setting that can dramatically impact the quality of your photographs. In layman’s terms, ISO measures the sensitivity of your camera’s sensor to light. A lower ISO value (like ISO 100 or 200) will make the sensor less sensitive to light and is ideal for well-lit conditions.
A higher ISO value (such as ISO 800, 1600, or higher) increases the sensor’s sensitivity to light, helping you capture better images in low-light conditions. To adjust the ISO, locate the control within your camera app, which will be clearly marked as “ISO.” You’ll see a slider or a series of preset values you can choose from.
If you’re shooting in a bright outdoor setting, it’s advisable to set a low ISO number to avoid overexposure and graininess. On the other hand, if you find yourself in a darker environment, such as during the evening or in a dimly lit room, a higher ISO setting will help your camera capture more light and details.
However, it’s essential to note that extremely high ISO values can result in noise, which appears as a grainy texture in the photo. Therefore, it’s always good to find a balance: use the lowest possible ISO that allows you to capture the image you want, considering the lighting conditions and your other settings.
Conclusion: iPhone Camera in Manual Mode
Learning to use your iPhone camera in manual mode can initially seem complex, but with some practice, it will become second nature. Manual mode offers a world of creative possibilities by giving you precise control over your photographs. This guide should set you well on your way to mastering manual mode on your iPhone camera.