Discoloration around your iPhone 13 camera can be concerning, but it’s a common issue with solutions at hand. In this article, we’ll walk you through the steps to resolve this problem effectively.
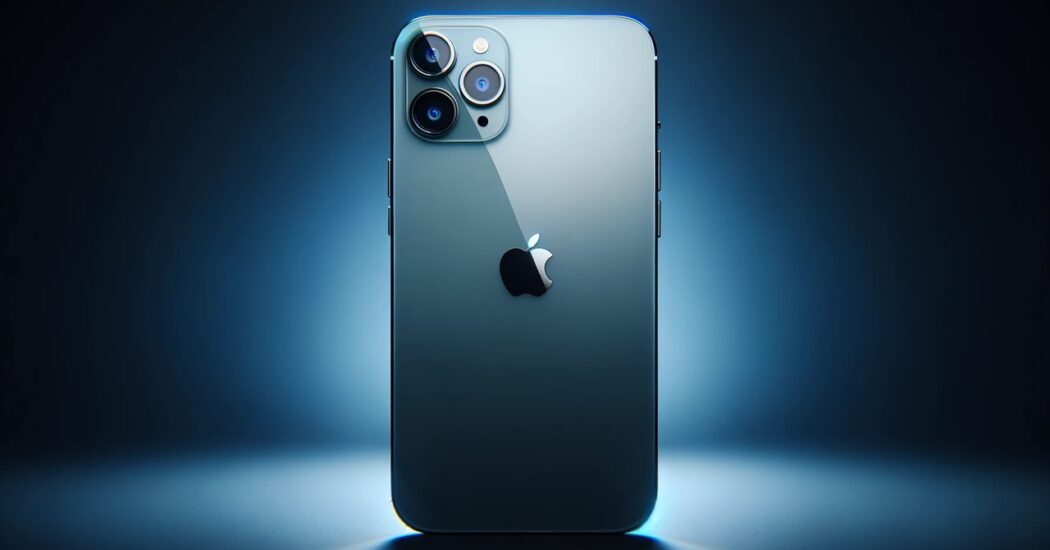
Table of Contents
Discoloration Around Your iPhone 13 Camera: Understanding the Cause
Before exploring the various solutions, it’s pivotal to delve deeper into the root causes behind the discoloration around your iPhone 13 camera. This phenomenon isn’t arbitrary, and there are specific factors at play:
Dirt Accumulation: Over time, your phone is exposed to various environments. It’s not uncommon for minute particles, dust, or other foreign bodies to settle on the camera lens, leading to potential discoloration.
Software Glitches: The iPhone’s camera functionality is deeply tied to its software. Occasionally, bugs or minor software hiccups can interfere with the camera’s operation, manifesting as discoloration or other visual anomalies.
Hardware Issues: While less frequent, it’s possible that the camera’s physical components, be it the lens or internal sensors, might be faulty or compromised. Such hardware problems can directly result in discoloration.
Discoloration Around Your iPhone 13 Camera – How to Fix it
Follow the steps below to fix the discoloration around your iPhone 13 camera…
Cleaning the Camera Lens
Discoloration often has a simple culprit: impurities on the camera lens. These can be anything from fingerprints, oils from your skin, to everyday grime. Addressing this is often the first step to restoring your camera’s clarity:
Switch off your iPhone 13: Before any cleaning procedure, ensure your device is turned off. This is a safety measure to protect both the device and you.
Use a soft, lint-free cloth: When cleaning delicate surfaces like a camera lens, the tool you use is crucial. Opt for a soft, lint-free cloth—often used for eyeglasses or camera equipment. This ensures that no additional debris is introduced during the cleaning process.
Steer clear of abrasive materials or chemical cleaners: The lens on your iPhone is treated with specialized coatings. Using harsh materials or chemicals can strip these away, leading to permanent damage. Always use gentle, non-abrasive tools and solutions.
Gentle Pressure is Key: While it might be tempting to scrub away perceived stubborn impurities, always use light, gentle strokes. Applying undue pressure risks scratching the lens or damaging its intricate coatings.
Checking for Software Updates
The performance of your iPhone’s camera is intrinsically tied to its software. A smooth synergy between the hardware and software ensures top-notch photo quality. Sometimes, a minor software glitch or an outdated version can be the unsuspected culprit behind issues like discoloration. Keeping your software updated can rectify such bugs:
Initiate the Process: Start by opening the ‘Settings’ application on your iPhone’s main screen. This is where all the phone’s configurations are housed.
Navigate to the General Section: Once inside Settings, you’ll see various options. Tap on ‘General’. This section contains vital information and controls for your device.
Search for Software Updates: Within ‘General’, find and select the ‘Software Update’ option. Your iPhone will now check for any available updates.
Update if Necessary: If your phone displays an available update, it’s advisable to download and install it. Follow the on-screen instructions to complete the process. Remember, updates not only fix bugs but also introduce new features and improvements.
Read more iPhone camera topics here – iPhone Camera: How To, Problems & Solutions
Resetting Camera Settings
Over time and with usage, certain settings in your iPhone’s camera might get inadvertently altered or corrupted. Such changes can sometimes lead to unexpected issues like discoloration. Resetting the camera settings can revert it back to its original state, potentially fixing the problem:
Start with Settings: As with the previous solution, begin by launching the ‘Settings’ application.
Locate the Camera Option: Scroll through the menu until you find the ‘Camera’ option and tap on it. This section is dedicated to all camera-related configurations.
Resetting the Settings: Inside the ‘Camera’ settings, look for an option labeled ‘Reset Camera Settings’. By selecting this, you’re choosing to revert all camera configurations to their factory defaults. Confirm your decision when prompted.
Contacting Apple Support
Sometimes, despite our best efforts, issues persist. If discoloration remains even after trying the above solutions, it might point towards a more deep-seated hardware issue:
Reach Out Electronically: Apple has a robust online support system. Visit the official Apple Support website or use the support app. Here, you can describe your issue, chat with experts, or schedule a call.
Visit in Person: If you prefer a hands-on approach, consider visiting an authorized Apple service center or an Apple Store. The technicians there are trained to diagnose and rectify any hardware problems.
Know Your Warranty: Before seeking repairs, it’s a good idea to check the warranty status of your iPhone. If covered, certain repairs might be done free of charge or at a reduced cost.
Conclusion: Discoloration Around Your iPhone 13 Camera
Discoloration around your iPhone 13 camera might be unsettling, but with the right steps, it’s often easily rectified. By following the procedures outlined above, you’ll likely get your camera back to its best in no time.