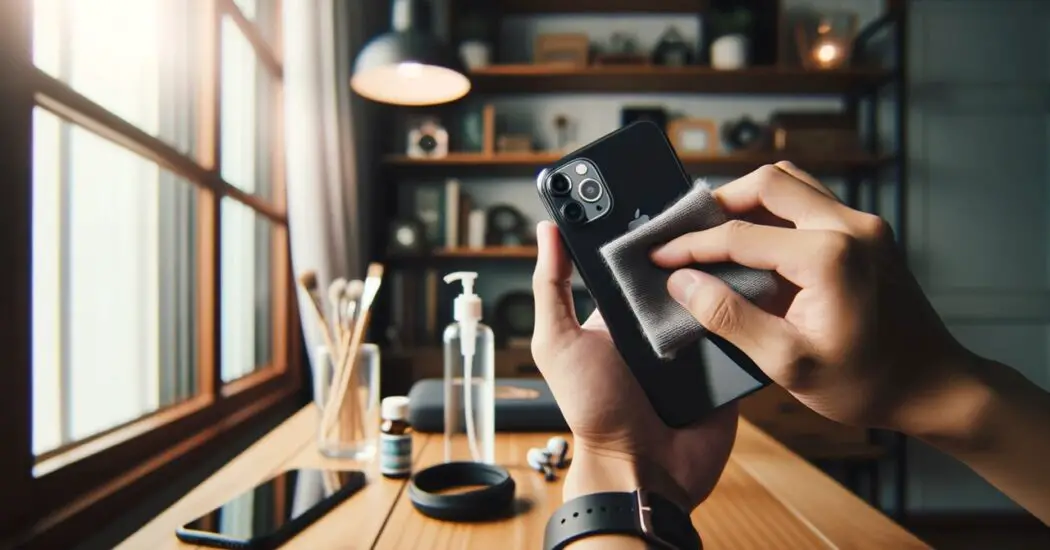
If you’re wondering how to clean around your iPhone camera lens, you’ve landed in the right place. Over time, dirt, dust, and fingerprints can accumulate around the lens, potentially affecting the quality of your photos. This article provides a step-by-step guide to help you clean it efficiently and safely.
Materials You’ll Need: How to Clean Around Your iPhone Camera Lens
Before you start, gather the following materials:
- Microfiber cloth
- Isopropyl alcohol (optional)
- Compressed air can
- Lens cleaning solution (optional)
How to Clean Around Your iPhone Camera Lens Step by Step
Follow the steps below to clean around your iPhone camera lens…
Step 1: Turn Off Your iPhone
Before embarking on the cleaning process, it’s essential to ensure your iPhone is switched off. Turning off the device provides an added layer of safety, reducing the risk of any inadvertent activations or electrical interactions. By doing so, you also prevent any accidental inputs or commands which might disrupt the cleaning process. Here’s how to do it:
For most iPhone models: Hold down the side button and either volume button simultaneously. After a few seconds, a slider will appear on the screen.
Drag the slider to turn off your iPhone.
Wait for the device to completely shut down before proceeding.
Step 2: Gently Blow Away Loose Dust
Over time, small particles, such as dust or debris, can settle around the iPhone camera lens. These particles, if not removed, can lead to scratches during the cleaning process. To ensure a safe and efficient cleaning:
Take a can of compressed air, ensuring it’s at room temperature.
Hold the can approximately 4-6 inches away from the camera lens.
Using short, controlled bursts, gently blow away any visible particles or dust from around the lens.
Rotate the iPhone slightly, ensuring all areas around the camera are addressed.
Read more iPhone camera topics here – iPhone Camera: How To, Problems & Solutions
Step 3: Dampen the Microfiber Cloth
A microfiber cloth is ideal for cleaning delicate surfaces, like a camera lens, due to its soft, non-abrasive nature. When using cleaning solutions:
Choose either isopropyl alcohol or a specialized lens cleaning solution. These are gentle yet effective cleaning agents for electronic devices.
Pour a small amount of the solution onto the cloth, ensuring it’s spread evenly.
Press the cloth between your fingers to spread the solution. This helps in preventing any excess liquid from dripping onto the iPhone.
The cloth should feel damp to the touch, but not wet. Wring out any excess solution if necessary. The aim is to have enough moisture to clean efficiently without leaving residues or causing potential damage.
Step 4: Gently Wipe the Camera Lens
The camera lens, though built with durability in mind, remains a delicate component of your iPhone. Cleaning it necessitates a gentle approach to avoid any potential damage. Here’s a detailed guide on how to do this:
Hold your iPhone steady, either by placing it on a flat surface or holding it securely in one hand.
Take the dampened microfiber cloth in your other hand, ensuring you’re holding a section of the cloth that’s uniformly moist.
Begin by gently placing the cloth on the outer edge of the camera lens.
With light pressure, move the cloth in small, circular motions, progressing from the outer edge towards the center of the lens.
As you clean, be mindful of the amount of pressure you’re applying. The weight of your hand should be sufficient, without the need for any additional force. This ensures you remove dirt and smudges without risking scratches or damage to the lens.
Step 5: Dry the Lens
Leaving moisture on the camera lens can lead to water spots or potential damage. Hence, it’s essential to ensure the lens is thoroughly dry post-cleaning. Here’s how:
Fold the microfiber cloth to a dry section, ensuring it hasn’t come into contact with any cleaning solution.
Gently press the dry section of the cloth against the lens, absorbing any residual moisture.
In similar gentle, circular motions as before, wipe the lens, ensuring all areas come into contact with the dry cloth.
Double-check the lens to ensure there’s no moisture or cleaning solution residue left behind. If any spots are visible, repeat the drying process until the lens appears clear and shine-free.
Once you’re confident the lens is completely dry, you’re ready to power on your iPhone and use the camera as usual.
Conclusion: How to Clean Around Your iPhone Camera Lens
Cleaning around your iPhone camera lens is essential to maintain optimal photo quality. By following the steps above, you can ensure that your lens remains clean and free from obstructions. Remember to clean regularly and handle your device with care.