If you don’t know how to fix iPhone camera lens, this comprehensive guide is tailor-made for you. Here, we’ll outline a step-by-step process designed for users of all technical levels. Follow this guide to get back to capturing your precious moments with clarity.
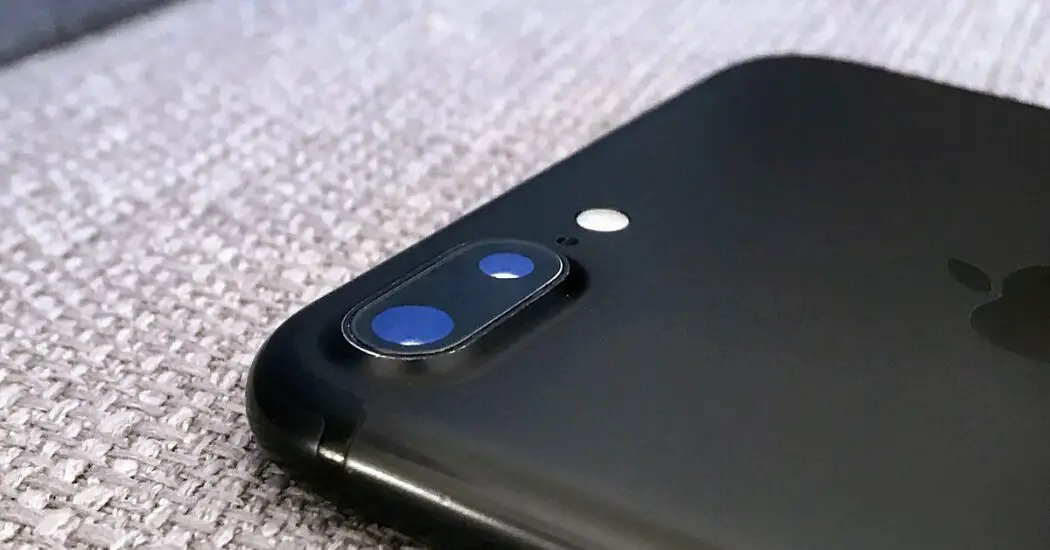
Table of Contents
Step 1: Identify the Problem
Before you can fix your iPhone camera lens, it’s important to first identify the problem. Are your photos blurry, or is there a visible crack on your lens? To do this, simply open your camera app and take a few test photos. Review these photos and note any persisting issues.
Step 2: Cleaning the Lens
Often, a blurry image can be attributed to a dirty lens. To clean your lens, lightly wipe it with a soft, lint-free cloth. Make sure to do this gently to avoid scratching the lens. If the problem persists, it may be due to other reasons.
Step 3: Check for Damage
If your pictures are still blurry, check your lens for any visible damage. Look for any cracks or scratches that might be affecting your photo quality. In case you find any, you might need to replace the lens to fix your iPhone camera lens.
Read more iPhone camera articles here – iPhone Camera: How To, Problems & Solutions
Step 4: Seeking Professional Help
If cleaning doesn’t work and you see no visible damage, it might be an internal issue. In this case, it’s best to seek professional help. Visit your nearest Apple Store or an authorized service center. They can further diagnose and fix the iPhone camera lens for you.
Step 5: Replacing the Lens
If there is visible damage and you’re comfortable with minor repairs, you can opt to fix the iPhone camera lens yourself. Purchase a lens replacement kit from a reputable source. This kit typically comes with a new lens and the tools needed to make the replacement.
Step 6: The Replacement Process
Follow the instructions provided with the kit to remove your damaged lens and install the new one. This usually involves carefully removing the damaged lens with the provided tools, cleaning the area, and securely installing the new lens. Be sure to follow all the steps diligently to fix your iPhone camera lens effectively.
How to Fix iPhone Camera Lens: Conclusion
Being able to fix an iPhone camera lens issue is a handy skill that ensures you’re never too far from capturing your next great photo. While the steps mentioned above are generally helpful, always remember to seek professional help if you’re unsure about any process.
