Knowing how to remove iPhone camera lens protector can save you from the stress of dealing with blurry pictures or a scratched protector. By following these simple, practical, and instructive steps, you’ll be able to restore your iPhone camera lens to its pristine condition.
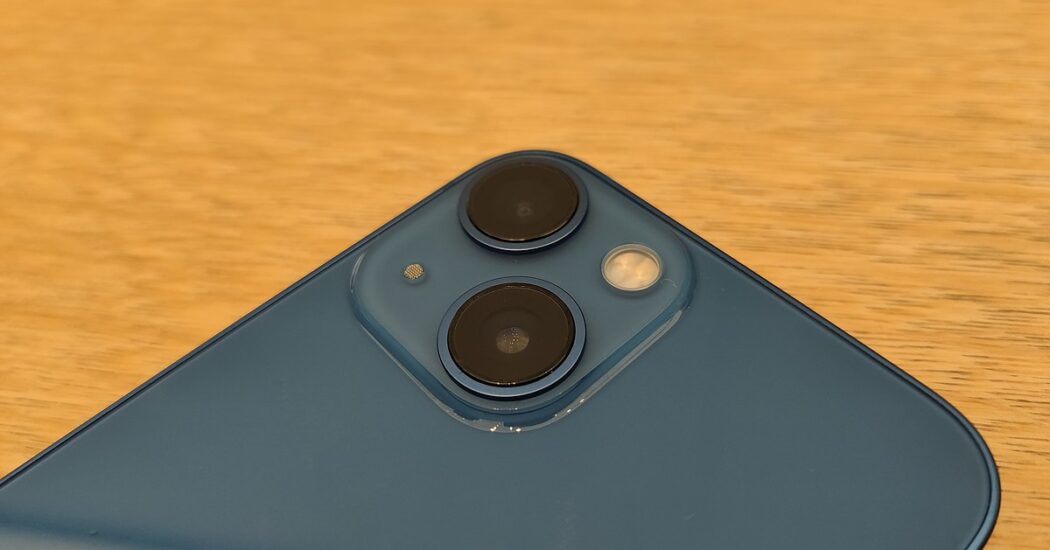
Table of Contents
What You Will Need
Before you begin, gather the necessary tools:
- A soft, lint-free cloth
- A pair of tweezers (optional)
Step 1: Clean the Area Around the Lens
First, gently clean the area around the lens with the soft, lint-free cloth. This is to ensure no dirt or debris interferes with the removal process.
Step 2: Loosen the Edges of the Lens Protector
Slowly and carefully, start to loosen the edges of the lens protector. You can do this by gently using your fingernail to lift the protector. If it’s too difficult, you may use a pair of tweezers, but be cautious not to scratch the lens.
Read more iPhone camera articles here – iPhone Camera: How To, Problems & Solutions
Step 3: Remove the Lens Protector
Once the edges of the protector are lifted, slowly peel off the lens protector. Always maintain a steady hand to prevent any damage to the lens.
Step 4: Clean the Camera Lens
After removing the protector, clean the camera lens with the soft, lint-free cloth to remove any adhesive residue left behind by the protector. Remember, keeping your lens clean ensures the best picture quality.
How to Remove iPhone Camera Lens Protector: Conclusion
Understanding how to remove an iPhone camera lens protector can save you time and potential stress. Following this guide ensures that you carry out this task safely and efficiently. Always remember to handle your device with care to prevent any potential damage.