If you’re wondering how to change exposure on iPhone, you’ve come to the right place. This guide will take you through the process step by step, ensuring that even beginners can adjust exposure like professionals. Whether you want to take perfect portraits or capture the beauty of a sunset, adjusting the exposure on your iPhone can make all the difference.
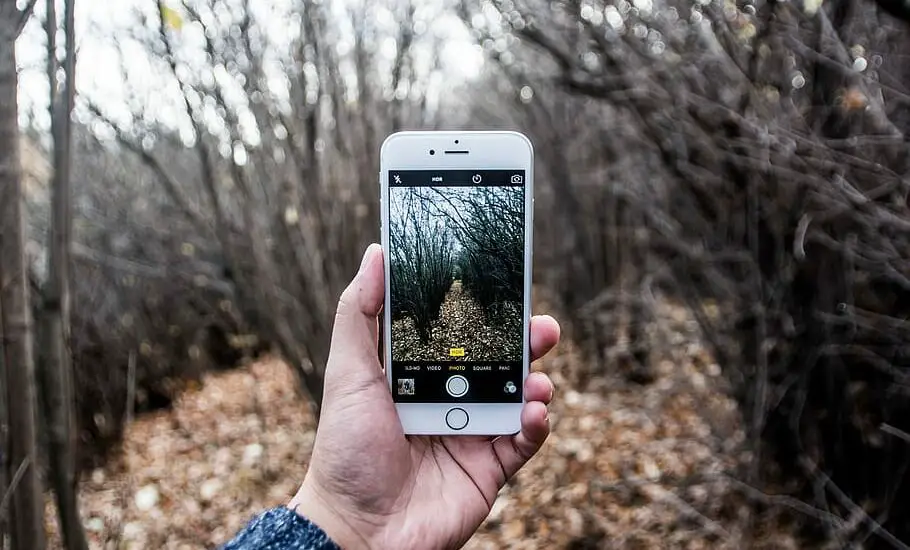
Table of Contents
Understanding Exposure
Exposure refers to the amount of light that hits the camera sensor. It affects how bright or dark your image appears. Knowing how to change exposure on iPhone can help you create more visually appealing photos.
Step-by-Step Guide on How to Change Exposure on iPhone
Step 1: Open the Camera App
Tap the Camera app on your iPhone to open it.
Read more iPhone camera topics here – iPhone Camera: How To, Problems & Solutions
Step 2: Focus on Your Subject
Tap the screen where you want the camera to focus. You’ll see a yellow box appear around the area.
Step 3: Adjust Exposure
Next to the yellow focus box, you’ll see a sun icon. Swipe up to increase exposure and make the image brighter. Swipe down to decrease exposure and make the image darker.
Step 4: Take the Photo
Once you’re satisfied with the exposure level, press the shutter button to take the photo.
Additional Tips on How to Change Exposure on iPhone
Remember that changing exposure can affect the overall mood of your photo. Experiment with different levels to find what works best for your particular scene.
Learn more about photography techniques with our other guides on taking stunning photos with your iPhone!