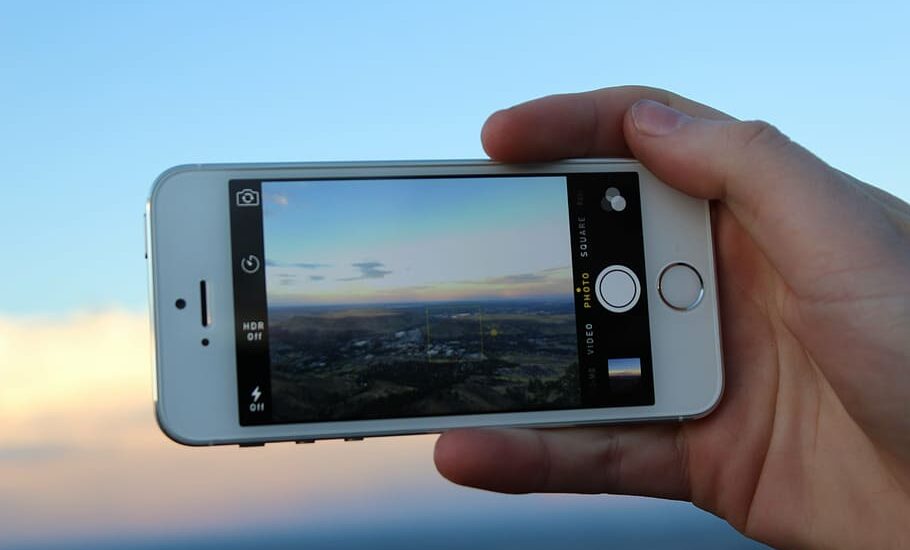
Figuring out how to turn on live photos on iPhone can be a task for those unfamiliar with the feature. Whether you are a new iPhone user or just never explored this function, you’ll find that turning on live photos is both an exciting and simple process. In this article, we’ll guide you through every step to ensure you have no trouble with this fun and interactive capability.

Table of Contents
How to Turn on Live Photos on iPhone – Step-by-Step Guide
Step 1: Open the Camera App
Start by finding the Camera app on your iPhone’s home screen. Look for the icon that resembles a camera and tap it to open the application.
Step 2: Locate the Live Photos Icon
Once inside the Camera app, look at the top center of the screen. You’ll see an icon that looks like three concentric circles. This is the Live Photos icon.
Step 3: Turn On Live Photos
To enable Live Photos, simply tap the icon. When it’s turned on, the icon will turn yellow. If it’s not yellow, Live Photos is turned off.
Read more iPhone camera topics here – iPhone Camera: How To, Problems & Solutions
Step 4: Start Capturing Live Photos
With Live Photos turned on, you can now start capturing images with movement and sound. Just press the shutter button as you normally would to take a photo, and your iPhone will record a brief moment before and after the shot.
Step 5: View Your Live Photos
To view the Live Photos, go to your Photos app and select the image you want to see. Press and hold the image to play the Live Photo. Enjoy reliving those lively moments!
How to Turn on Live Photos on iPhone: Conclusion
Turning on Live Photos on your iPhone adds a whole new dimension to your photography. By following these easy steps, you can capture more than just still images; you can preserve the essence of a moment. If you have any further questions, don’t hesitate to consult your iPhone’s user manual or reach out to Apple support.
