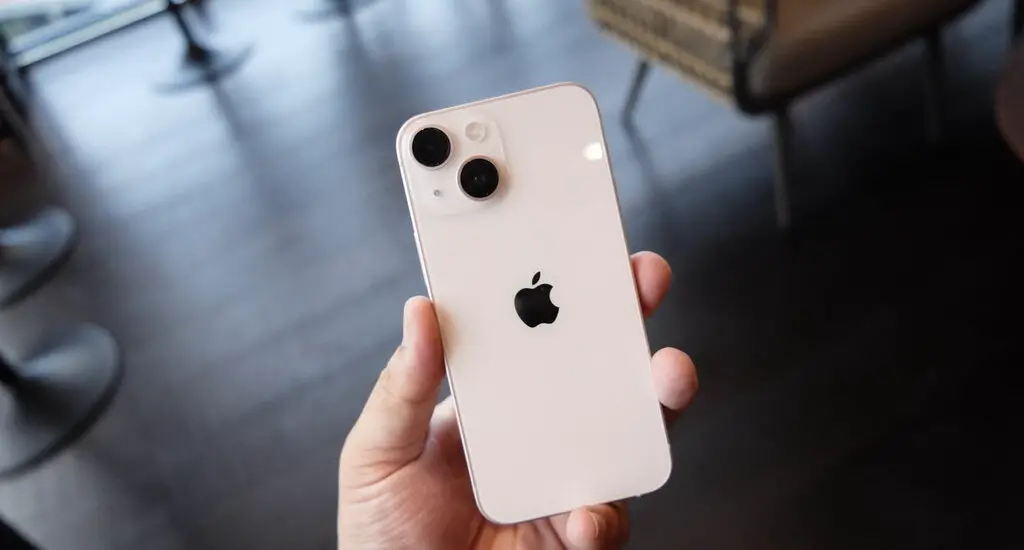
Whether you are a professional photographer or just someone who loves capturing beautiful moments, mastering the iPhone 13 camera settings can enhance your photography skills. This step-by-step guide will help you understand and harness the full potential of this powerful tool.
This work is licensed under a Creative Commons Attribution-NoDerivs 2.0 Generic License.
Table of Contents
Getting Familiar with the iPhone 13 Camera Interface
Before you can explore the diverse settings and features, it’s crucial to familiarize yourself with the basic interface. When you open your iPhone 13 camera, you’ll notice different icons and options on your screen. These represent various functionalities that can improve your photography, such as flash, Live Photos, photo mode, portrait mode, and more. Spend time understanding what each icon represents and how it affects your shots.
Navigating the Different Modes
Next on our journey through the iPhone 13 camera settings, we will focus on different camera modes available. There are six main modes: Time-lapse, Slo-mo, Video, Photo, Portrait, and Pano. The mode you select depends on the type of photo you want to take. For instance, the Portrait mode is perfect for shots with a blurred background, while the Pano mode is great for wide landscapes.
Read more iPhone camera topics here – iPhone Camera: How To, Problems & Solutions
Adjusting Exposure and Focus
Another key aspect of the iPhone 13 camera settings is adjusting the focus and exposure. Tap on your screen where you want the camera to focus. A yellow box will appear, signifying that the camera is focused on that spot. To adjust the exposure, swipe up or down on the screen. Swiping up increases the exposure, making the photo brighter, while swiping down decreases it, making the image darker.
Using Night Mode
The Night mode in the iPhone 13 camera settings allows you to take clear and well-lit photos in low-light conditions. This feature is automatically enabled when the camera detects insufficient light. You can manually control the exposure time in Night mode by tapping the Night mode icon and moving the slider left or right to decrease or increase exposure time respectively.
Exploring the Advanced Settings
Last but not least, let’s explore some of the advanced features in the iPhone 13 camera settings. These include HDR (High Dynamic Range), Live Photos, and filters. HDR helps balance the light in your photos, making the bright areas not too bright and the dark areas not too dark. Live Photos records a few seconds of video before and after the photo is taken, while filters allow you to add various effects to your photos.
iPhone 13 Camera Settings: Conclusion
Mastering the iPhone 13 camera settings might seem intimidating at first, but with a bit of practice, you’ll be capturing stunning photos in no time. Take time to experiment with different modes and settings to discover what works best for you.