Capturing the magical phenomenon of the northern lights with your iPhone camera is an exciting but challenging task. The key to success lies in the right iphone camera settings for northern lights. This article will guide you through the process step by step, so you can create stunning images.
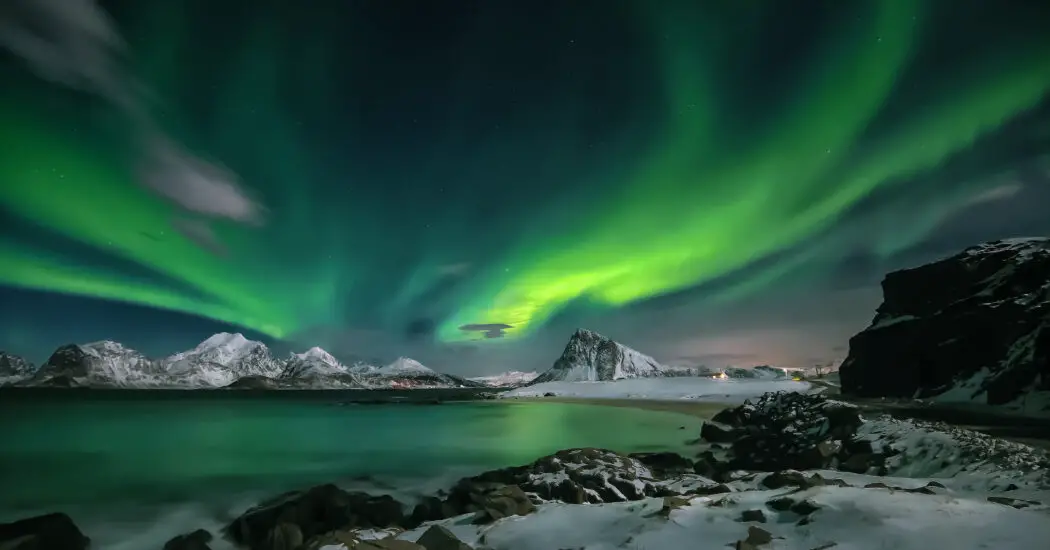
Table of Contents
Understanding Your iPhone Camera
Your iPhone camera is equipped with features that can be optimized for capturing the northern lights. Here’s what you need to know.
Setting Up Your iPhone
Before you start, ensure your iPhone is ready with the following steps:
- Make sure your phone is fully charged.
- Enable Night mode if available.
- Turn off the flash to prevent unwanted glare.
Read more iPhone camera articles here – iPhone Camera: How To, Problems & Solutions
Finding the Right Location
Finding the perfect spot for iphone camera settings for northern lights is crucial. Here’s how:
- Choose a location away from city lights.
- Check the weather forecast for clear skies.
- Use an app to predict the northern lights’ activity.
iPhone Camera Settings for Northern Lights
Now, let’s move on to the specific iphone camera settings for northern lights:
- Open the camera app.
- Select Pro or Manual mode if available.
- Set the ISO to a higher value like 800.
- Adjust the shutter speed to around 15 seconds.
- Focus on infinity to capture a sharp landscape.
iPhone Camera Settings for Northern Lights: Conclusion
Capturing the northern lights is an experience unlike any other. By following these iphone camera settings for northern lights, you can create breathtaking images to treasure forever. Practice, patience, and persistence are your allies in this exciting photographic journey.