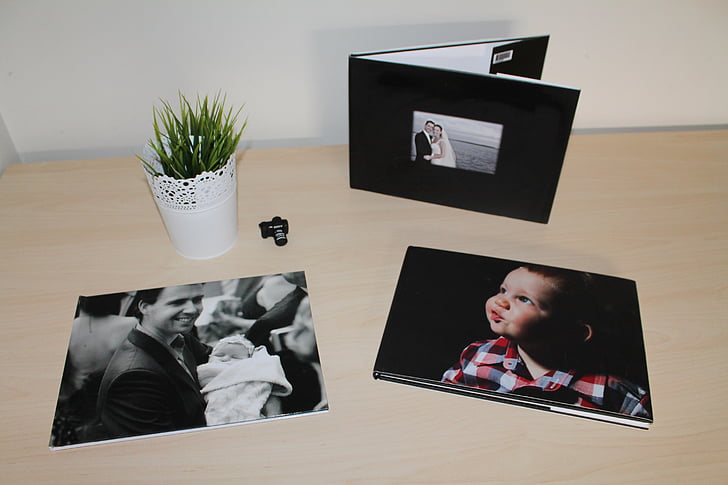
Want to learn to print photo album from iPhone? You’ve come to the right place. This article will guide you through every step of the process, making it straightforward and hassle-free.

Table of Contents
Why Print Photo Album from iPhone?
Before we dive into the steps, let’s quickly discuss why you might want to print a photo album from your iPhone. With smartphones capturing high-quality photos these days, printing them can help you create lasting memories.
Prerequisites
Ensure that you have the following before you start:
- An iPhone with photos
- A wireless printer compatible with Apple AirPrint
- Wi-Fi connection
Step 1: Connect to Wi-Fi
The first step is to connect your iPhone and your wireless printer to the same Wi-Fi network.
- Go to Settings on your iPhone.
- Tap on Wi-Fi.
- Select your Wi-Fi network and enter the password if prompted.
Step 2: Select Photos
Now that you’re connected, the next step is to select the photos you want to include in your album.
- Open the Photos app on your iPhone.
- Go to Albums and select the album you wish to print.
- Tap on Select and choose the specific photos.
Read more iPhone camera topics here – iPhone Camera: How To, Problems & Solutions
Step 3: Use AirPrint
After selecting your photos, you’ll utilize Apple’s built-in AirPrint feature to print them.
- While in the selected album, tap the Share icon.
- Scroll down and select Print.
- Choose your printer from the list.
- Tap Print to start the printing process.
Step 4: Collect Your Prints
Your photos will be printed momentarily. Once the printing is complete, collect your photos from the printer’s tray.
Print Photo Album from iPhone: Conclusion
Printing a photo album from your iPhone can be done in just a few easy steps. With this guide, you’ll find the process to be simple and rewarding.
