If you’ve struggled with taking crisp, clear photos in low-light conditions, mastering your iPhone camera in night mode will significantly improve your photography game. This article provides a comprehensive, step-by-step guide to help you navigate the settings and capture stunning night-time shots effortlessly.
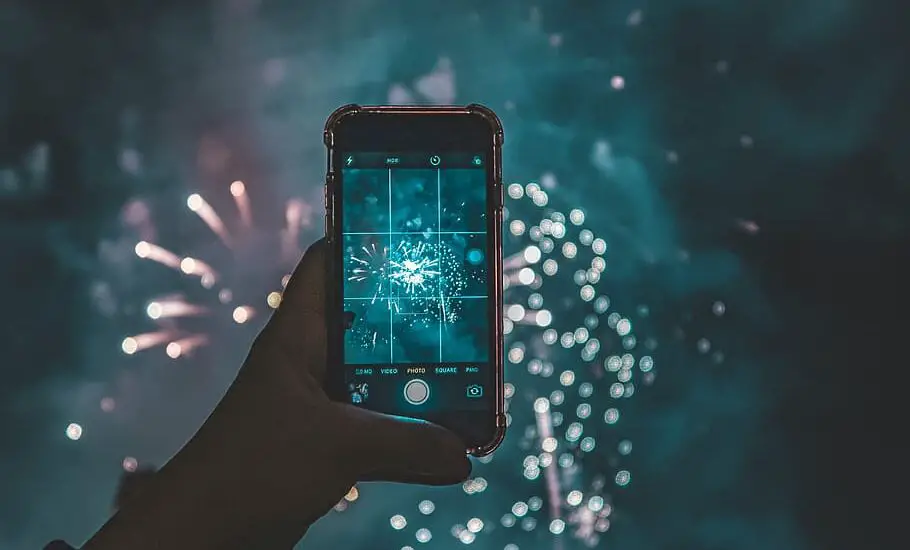
Table of Contents
Understanding Night Mode
Before diving into the mechanics of capturing photos, it’s essential to grasp what Night Mode actually is. Introduced first in the iPhone 11 series, Night Mode is a specialized camera feature designed by Apple to enhance your photography in environments with limited lighting. It uses a technique called long-exposure photography.
In this mode, the camera sensor gathers more light over an extended period to create a brighter and clearer image. Simultaneously, the software algorithms work to reduce the grain or “noise” that usually accompanies photos taken in low-light settings.
Now that you have a deeper understanding of Night Mode and its capabilities, you’ll be better prepared to exploit its features for improved low-light photography.
How to Use iPhone Camera in Night Mode
Follow the steps below to use your iPhone camera in night mode…
Step 1: Open the Camera App
The first thing you’ll want to do is locate the Camera app on your iPhone. For most users, this app is found on the home screen, easily recognizable by its camera lens icon. However, if you’ve organized your apps differently, finding the Camera app is just as straightforward. Simply swipe down from the middle of your iPhone screen to activate the search bar.
Type “Camera” into the search bar, and the app should appear in the list of results. Once located, tap the Camera icon to launch the application.
Step 2: Select the Right Camera Mode
When you open the Camera app, the interface presents you with various modes situated at the bottom of your screen. These options include ‘Photo,’ ‘Video,’ ‘Pano’ (for panoramic shots), and potentially others, depending on your iPhone model and iOS version.
Your aim is to ensure that ‘Photo’ mode is selected. You can do this by swiping left or right until ‘Photo’ is highlighted. This sets your camera to the standard photo-taking mode, which is what you’ll need to activate Night Mode.
Step 3: Enable Night Mode
As soon as you’ve ensured you’re in ‘Photo’ mode, pay attention to the icons appearing at the top left corner of your screen. One of these icons resembles a crescent moon, and it’s the Night Mode icon.
This icon is designed to be context-sensitive; it appears only when the camera sensor detects that you’re in a low-light environment. When you see it, tap the moon icon to enable Night Mode. You’ll know it’s activated when the icon turns yellow.
Read more iPhone camera topics here – iPhone Camera: How To, Problems & Solutions
Step 4: Adjust Exposure Time
Once you’ve successfully enabled Night Mode by tapping the crescent moon icon, your next task is to tailor the exposure time to your specific needs. When you tap the Night Mode icon a second time, a slider labeled with different exposure times will appear at the bottom of your screen, right below the frame.
This slider allows you to manually adjust how long the camera sensor will be exposed to light during the shot. The scale usually ranges from 1 to a maximum of 30 seconds, although this upper limit may vary depending on the model of your iPhone.
If you opt for longer exposure times, the sensor will collect more light, thereby brightening your image. However, longer exposure times come with a caveat—they demand a steadier hand or ideally a tripod to prevent motion blur. If you’re shooting freehand, try to choose a shorter exposure time that you can comfortably manage without shaking.
Step 5: Frame Your Shot
With Night Mode activated and your exposure time set, you’re almost ready to take the photo. The next step involves composing or “framing” your shot. The iPhone’s camera interface provides an optional grid feature that divides your screen into nine equal segments, making it easier for you to align your subjects or landscape.
This grid adheres to the “rule of thirds,” a fundamental principle in photography that helps improve composition. To enable the grid, go to “Settings” > “Camera” and toggle on the “Grid” option.
Place important elements of your photo along these lines or at their intersections to create a balanced, visually compelling image. Remember, the grid lines are just a tool; they’re not an absolute rule. Feel free to experiment with different angles and positions until you’re satisfied with how your image is framed.
Step 6: Capture the Photo
Finally, you’re ready to capture your thoughtfully framed, perfectly exposed photo. Locate the shutter button—it’s the large, circular button at the bottom center of your screen. Gently tap it to initiate the photo-taking process. Here, the key is steadiness; even a slight jiggle can introduce blur into your long-exposure Night Mode shot.
Therefore, hold your phone as still as possible while the capture is in progress. Your iPhone will display a countdown based on your selected exposure time, giving you a sense of how long you need to hold still.
After the countdown completes and the photo is captured, give your device a moment to process the image. Night Mode photos typically undergo some post-capture processing to fine-tune the details and reduce noise.
Conclusion: iPhone Camera in Night Mode
There you have it—a comprehensive guide to mastering your iPhone camera in Night Mode. With just a few taps and swipes, you can elevate your low-light photography and capture stunning images effortlessly. Practice makes perfect, so don’t hesitate to experiment with different exposure times and compositions to get that perfect night-time shot.
