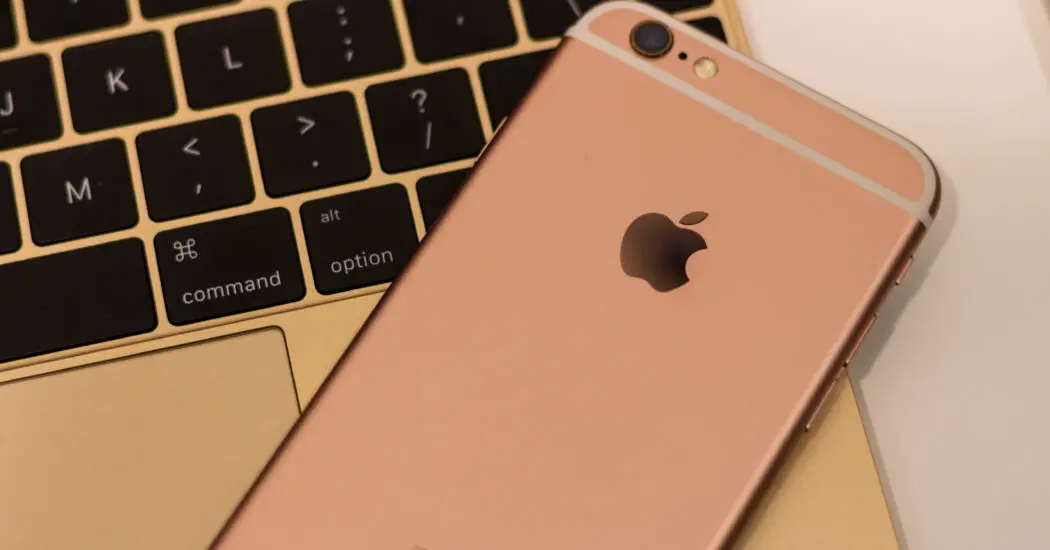
If you’re looking to understand how to organize iPhone photos on computer, you’ve come to the right place. This article is designed to offer a thorough, yet straightforward, guide to making sure your iPhone photos are well-organized on your computer.

Preparation: What You’ll Need
Before we delve into how to organize iPhone photos on computer, ensure you have the following items:
- Your iPhone
- A computer (Windows or Mac)
- A USB cable to connect your iPhone to the computer
Step 1: Back Up Your iPhone
Before making any changes to your iPhone or its contents, it’s crucial to have a complete backup. This will allow you to restore your phone to its previous state if anything goes wrong.
Step 2: Connect iPhone to Computer
Use the USB cable to connect your iPhone to your computer. If prompted, unlock your iPhone and trust the computer to allow access.
Read more iPhone camera topics here – iPhone Camera: How To, Problems & Solutions
Step 3: Transfer Photos
On a Mac, use the Photos app to import your photos. On a Windows PC, use the Photos application or Windows Explorer to copy the photos to your computer.
Step 4: Organize Photos
Once all the photos are transferred, you can begin organizing. Create folders based on categories that make sense to you: by date, event, or subject matter. Drag and drop the photos into these folders.
How to Organize iPhone Photos on Computer: Conclusion
Understanding how to organize iPhone photos on computer doesn’t have to be a daunting task. With these steps, you can systematically and efficiently organize your photos, ensuring that you’ll easily find what you’re looking for in the future.