The process of installing an IP camera can be quite confusing because of the several tools required. Hence, we have carefully put together this detailed article for those looking for how they can connect wireless IP cameras to digital video recorders.
But before we dive into that area, we will start by telling you what an IP camera is. Then at the tail end of this article, we will answer some frequently asked questions about IP cameras.
Table of Contents
What is IP Camera?
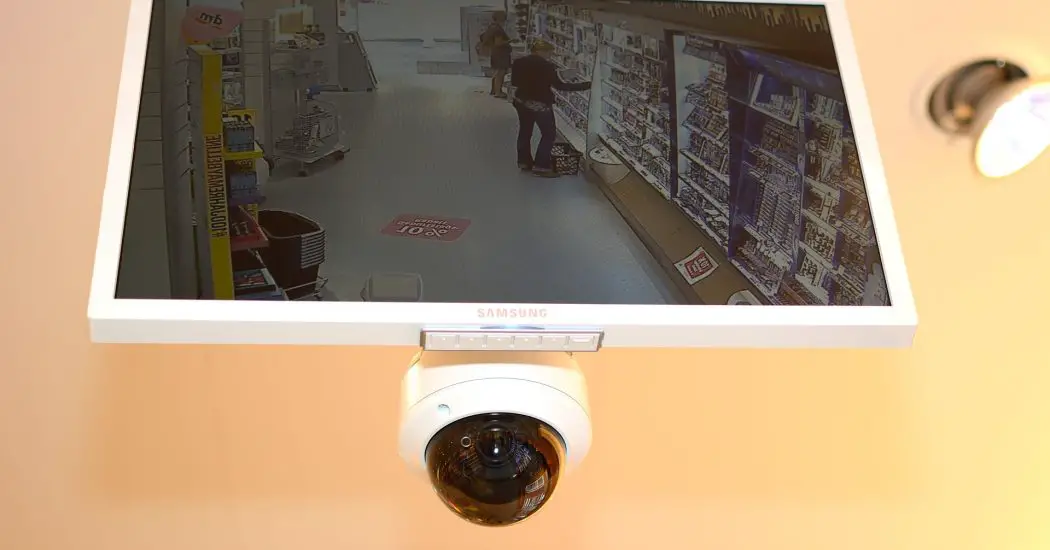
An IP or internet protocol camera is a surveillance device usually powered by Power over Ethernet (PoE) injector. An injector is a tool that facilitates smooth transmission of power supply to the IP camera.
A computer device displays the video footage recorded by the digital video recorder (DVR). IP cameras come in wired and wireless forms. But the wireless ones are usually more expensive and scarce.
How to Connect an IP Camera to a DVR?
To connect an IP camera to a DVR, do the following:
i. Connect to Power over Ethernet switch
ii. Connect the camera to the DVR
iii. Add Channels to the DVR
Connect to Power over Ethernet Switch
Connect the wireless IP camera to the Power over Ethernet switch. You will need to get an 802.3af/at PoE switch and then connect it to the wireless IP camera. Once that is done, you can now connect to the router and PoE switch. But make sure that the DVR is connected to the uplink ports on the router.
Connect the camera to the DVR
The next step is to connect wireless IP camera to DVR. This aspect is quite tricky, but if you follow our guidelines to the letter, it won’t be so difficult. First, you have to set up the DVR system to the appropriate IP address on your local area network. So that the IP camera can easily transmit data via the internet.
As a tip, the default structure of a correct IP address is 192.168.1.108. But we advise you to change yours when you connect it, to avoid conflict, especially when you purchase many IP webcams or cameras.
Add Channels to the DVR
Add IP camera channels to the DVR. But before you do that, ensure the “Add IP Channels” tab is enabled. To do that, you have to first switch from BNC channels to IP camera channels. Once that is out of the way, you can now check if the IP address of the DVR and camera is the same.
Before you can successfully connect an IP camera wireless to a DVR, you will need to have the following: computer, router, and PoE switch. As we mentioned earlier, the PoE switch will help to power the surveillance camera. The router will serve as a network connection between the DVR and the IP camera software.
Then the computer will be used for configuring the security camera on the network provided by the router.
Video: Connecting Wireless IP Camera to DVR
If you are not still clear on how to connect wireless IP cameras to a DVR, watch this video…
What are the Alternatives to DVR for Installing an IP Camera?
The alternatives to DVRs when installing an IP camera include:
i. Built-in Micro SD Card
ii. Hard drives
iii. File Transfer Protocol (FTP) Server
iv. Cloud Storage
Built-in Micro SD Card
Instead of spending several hours trying to connect an wireless IP camera to a DVR, you should consider going for a camera with an inbuilt Micro SD card. But, the downsides of this alternative is that only movements trigger it. Plus, it automatically overwrites older data once the storage is full.
Hard Drives
Another great alternative on how you can connect network or IP cameras without DVRs is by using a hard drive. Also, you can use the hard drive of your computer to store security camera footage, just like a Micro SD card. But you have to leave your computer on for it to work.
File Transfer Protocol (FTP) Server
File Transfer Protocol is a method of transferring data from one computer to another or via the internet. Also, you can put your surveillance videos and images on an FTP server if you don’t want to use a DVR. Furthermore, the great thing about this method is that you can access your data with your computer devices from anywhere you are in the world.
Cloud Storage
To begin with, cloud storage is the most recent data storage tool. With this system, you can store your security camera data. Additionally, cloud storage provides an off-site backup option, where you can keep and easily access sensitive files. But you will have to pay a monthly subscription fee for this service.
Can Wireless Cameras Work Without Internet?
Wireless cameras can work without internet connection, provided a UTP cable is available. The IP camera will be connected to a computer via the UTP cable. With this cable, there is no need for Power over Ethernet switch anymore. But then, the cable is quite expensive to buy.

How to Set up Wireless IP Camera System?
To set up a wireless IP camera, do the following:
i. Connect to the LAN of a location
ii. Get the Network Address of the IP camera
iii. Enter the HTTP Port Number
iv. Static IP address
Connect to the LAN of a location
Connect the IP camera to the LAN (local area network) of your location through a Wi-Fi connection. Since it is a wireless security camera, you do not need an Ethernet cable.
Get the Network Address of the IP camera
The next stage is to look for the correct network address for your security camera. To do this, you can make use of a program called Dynamic Host Configuration Protocol (DHCP). Just ask the security camera manufacturer or vendor to give you the program when purchasing the camera.
Enter the HTTP Port Number
The next step is to configure the Wi-Fi by visiting the website of the camera manufacturer with the correct network address. But lookout for the HTTP port number the camera uses. If it is an HTTP port 80, you can are not required to indicate the port number when inputting the web address. On the other hand, if it is HTTP port 81, you have to enter it with the web address.
Static IP address
Ensure that the IP address you are entering is static. That means you should not depend on the default network or IP address that comes with the surveillance camera.
Finally, double-check to ensure no steps were missed during the installation process.
How to Install IP Camera without DVR or NVR?
To install an IP camera without a DVR or NVR, use the following methods:
i. Use the camera’s proprietary security software
ii. Port forwarding
Use the Camera’s Proprietary Security Software
i. Go online and download the proprietary security software for your camera.
ii. Next, install the software and launch it.
iii. Then input the camera user identification number and password into the required fields in the software. Once you have successfully done that, your camera will be automatically added to the database.
iv. After that, look for an icon that looks like a camera and click it. Once you do that, you will be able to see the video footage of your IP camera. In addition, you have the option of uploading it online as a storage medium.
Port Forwarding
Another way to connect wireless IP camera without NVR or DVR is by doing what is called “Port Forwarding.” Here’s a step-by-step guide on how to go about it:
Step 1: Go to the Post Forwarding Section on the IP Camera Router’s Page
The router’s page of most security cameras may differ slightly, so they have different labels for Post Forwarding such as: “Port Forwarding”, “Gaming”, “Applications”, “Virtual Servers”, or “Firewall”. They all perform the same function.
Step 2: Go to the Port Forwarding Preset
Once you have been able to locate the Port Forwarding Section in your router, go to the port forwarding preset and make the necessary changes. Then go to the bottom of the page and click “Save”.
Step 3: Add a Custom Entry
Once you have successfully saved the port forwarding preset, the system will lead you to a page where you can set up a custom entry for your surveillance camera. Although each router has a different method of setting up the custom entry, the required data you are to input is the same for all.
Step 4: Input the Private IP Address Your Computer
In the router’s page, you will see a field that requires you to input the private IP address of your computer. Once you do that, save the settings and restart the router, so the changes can be effected.
Check out these interesting articles on our archive…
- How To Find Models For Photography — Comprehensive Guide
- How to Get Water Out of iPhone Camera — A Guide
- How to Sell a Camera — 6 Effective Tips
- What is an IP Camera — Extensive Answer
- How to Connect Bunker Hill Security Camera to iPhone – Detailed Answer
- What Kind of Camera does David Dobrik Use – In-depth Answer
Conclusion
To successfully connect a wireless IP camera to a DVR, you need to know how security systems or products work. Nonetheless, we have simplified the process for home and business owners so that they can do it themselves.
If you still find the process of connecting wireless IP camera to DVR confusing, you can opt for simpler storage products such as FTP servers, cloud storage, hard drives, and inbuilt SD card cameras.
How to Connect Wireless IP Camera to DVR – Related FAQs
How Do I Use an IP Camera App?
To use an IP camera app on an Android device, connect it to a wireless network. Next, install and launch the IP webcam application. Click the “Start Server” located at the bottom-center of the main page. This simple action will initialize the app for first time use.
Next, look for ”Add” and click it to include the IP camera channel. For instance, if the IP camera app is the iSpy, click the Add IP Camera with Wizard. This will lead to a page where the Android device can be added to the iSpy app.
How Can I Access My IP Camera Remotely?
To access an IP camera remotely, do the following:
i. Get the IP address of the camera.
ii. Open a web browser on a smartphone or computer and enter the login information and IP address.
iii. Go to the settings, and click on Basic. Now, look for Network and click on it. It will display the HTTP port number of the IP camera. The port number does not need to be changed. However, if the default port number (80) is blocked by an ISP, it has to be changed.
iv. Now, initialize the system and reboot it.
v. After rebooting, log in again on using the address: http://(IP address):(Camera port number).
How Do I Find the IP Address of My IP Camera?
To find the IP address of an IP camera, check the Network page via the camera’s software, be it a mobile or PC application. The Network page displays all IP addresses and other vital information about the IP camera.
If this method is too difficult, simply check the Attached Devices or DHCP Clients Table page on the router software configuration of the camera. This page shows all the IP addresses of IP cameras connected to the router. The unique MAC address of an IP camera also allows for quick identification of its IP address.
How Do I Stream Video from My IP Camera?
To stream a video from an IP camera from the same local network, use the desktop or mobile app developed by the manufacturer of the IP camera. Similarly, log onto the IP camera address via a web browser and video stream. If the RTSP URL of the IP camera is known, it can be connected to a VLC video player for seamless streaming.
Video streaming with an IP camera is simply viewing the live footage of the IP camera via the internet. Using an IP camera to video stream is usually used for Public Broadcasting and Private Viewing.
How Do I Assign an IP Address to My Phone?
To assign an IP camera to a smartphone, do the following:
i. Go to the Settings and click on Connection and then on Wi-Fi.
ii. Tap and hold the desired network and select Manage Network Settings.
iii. Highlight the Show Advanced Options box and change the IP Settings from DHCP to Static.
iv. Static addresses for private networks should be chosen from the following:
10.0.0.0 through 10.255.255.255
172.16.0.0 through 172.31.255.255
192.168.0.0 through 192.168.255.255
v. Enter the camera’s IP address and the Gateway will be filled automatically according to the IP address.
How Do I Connect My IP Camera to Facebook Live?
To connect an IP camera, go to the video stream link, which can be found in the Settings of the IP camera in streaming/video/h.264/RTSP sections. However, if it’s not found there, do a quick Google search of the IP camera’s brand name, model and RTSP.
Add a live video to a given Facebook page and then click on connect. Next, click on Schedule and then click Broadcaster Only when the post is displayed on the timeline.
Go on Facebook by entering the IP camera stream URL – RTSP the stream URL URL in the Output section as the server URL + stream key.