While recording videos or taking pictures with your computer’s webcam is something most people understand, the process might differ slightly from one brand of computer/device to another. In this article, we will show you how to use camera on Dell laptop.
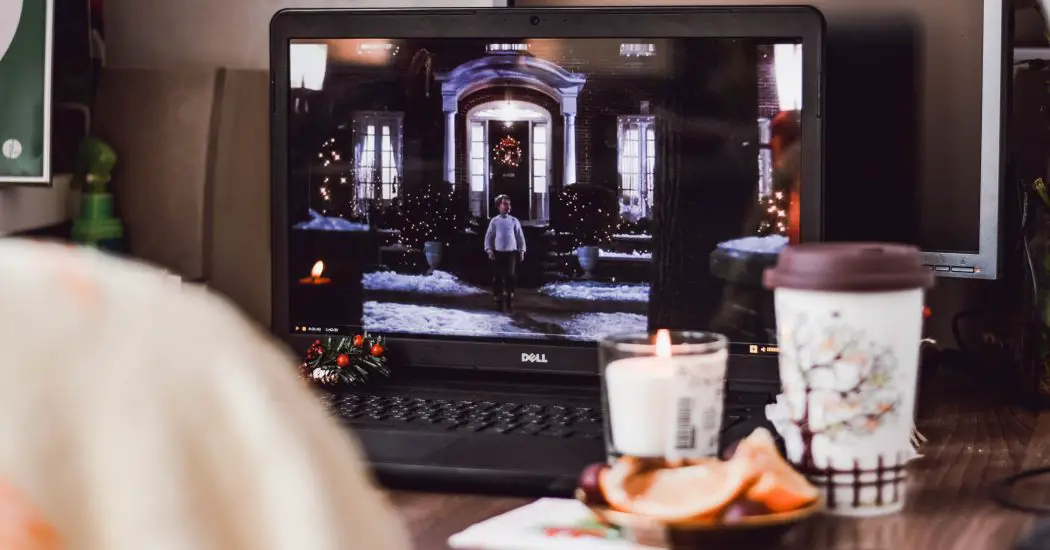
Table of Contents
How to Use a Dell Inspiron Webcam?
To use the camera on a Dell Inspiron laptop, do the following:
i. Switch on the Dell computer and allow it to boot until it displays the home or main menu.
ii. Press the “Start” icon, which is located at the bottom-left side of the screen.
iii. A drop-down tab with various features will be displayed and then choose “Programs“ in this tab.
iv. Click on “Dell Webcam Manager” from the items displayed on the screen.
Once the process is followed correctly, you can access the icons for taking pictures and recording videos by going to the control panel of the Dell webcam.
This video shows how you can use the webcam on a Dell laptop. Check it out…
Check out these interesting articles on our archive…
- How to Sell a Camera — 6 Effective Tips
- What is an IP Camera — Extensive Answer
- How to Connect Bunker Hill Security Camera to iPhone – Detailed Answer
- What Kind of Camera does David Dobrik Use – In-depth Answer
- How to Hide Security Camera Wires — Everything You Need to Know
- How to Use Camera on Lenovo Laptop Windows 7 — Extensive Answer
Takeaway
In conclusion, using the webcam on a Dell computer is quite simple. Follow the steps we mentioned above, and you are good to go! But before you can use the camera, ensure that the drivers that facilitate the process are properly installed.
How to Use Camera on Dell Laptop – Related FAQs
How Do I Turn on the Camera on My Dell Laptop?
To turn on the webcam on a Dell laptop, power on the laptop and click the Start icon on the Windows screen. Next, click on All Programs and go to the Dell Webcam tab. In this tab, click on Webcam Central.
A simpler way to get to this point is to type in “Webcam Central” in the search box and click on the displayed results. Next, select “Snap Photos” for the webcam to turn on and begin taking photos. To record videos, click “Record Videos”.
Why is My Camera Not Working on Windows 10?
A webcam will not work on a Windows 10 laptop if the recommended drivers are not available. This might happen if the Windows on the laptop has just been updated. Another reason why a camera may not work on a Windows operating system is that the installed anti-virus software may be blocking the webcam.
Also, the privacy settings of a Windows operating system may be hiding the webcam app if it is enabled. The last reason why a webcam may not work on a laptop is that the app is corrupted.
Why is My Camera Showing a Black Screen?
The camera on a laptop may show a black screen if the lens is covered with dirt. Gunk may accumulate on the lens of a camera if the laptop is kept or used in a dirty or dusty environment. Wiping the webcam area with a dry microfiber towel on a regular basis will prevent the accumulation of dirt.
Also, a MacBook or an iPhone is not designed to accept third-party camera apps. Hence, even if these apps are installed successfully, they will display a blank screen when they are launched.
How Do I Unblock My Camera?
To unblock the camera on an Android device, go to Google Chrome browser or app and click on “More” located on the right-hand side of the address bar. Next, go to Settings and click on “Site Settings”. After that, click on “Camera” and turn it on. Now, look for any website that is blocked from accessing the camera and unblock it.
For iOS devices, refresh the Safari app and launch it again. This time, a notification of the app requesting access to the camera will be displayed. Click “Allow” to grant it access.
Why is Google Camera Not Working?
The camera on Google Meet will not work if it is not connected and granted access to the app. So, check if the camera is well connected such that there is no obstruction. Also, the camera on Google Meet may not function if other apps on the computer are currently using the camera.
So, check if the webcam app is turned on or if FaceTime in Mac operating system is using the camera. If they are, close them and reload the Google Meet app.
How Do I Fix My Camera on My Laptop Windows 10?
To fix the webcam on a Windows 10 laptop or desktop, go to Settings by using the shortcut key Win + 1. Next, go to the Privacy menu and tap “Camera”, which is on the left-hand side of the screen. Now, toggle On the “Let Apps Use My Camera Hardware”, which is located on the right-hand side of the screen.
Next, scroll down to grant all the apps access to the camera. The camera of a Windows 10 laptop can also be fixed via the Device Manager.

Pingback: How to Turn Off Camera in Pokemon Go -- Detailed Answer